By the end of summer 1814, the jig was up for the American invasion. While they had managed to strike at the British and nearly pushed them off the Niagara peninsula again, the new commander-in-chief of the British forces in Upper Canada was going to have none of that. Following the quick movements, it all turned around at the Battle of Lundy’s Lane and General Drummond managed to push the Americans back to their beachhead at the now heavily fortified Fort Erie where the Americans had started not a month earlier. And Drummond would begin his siege that would lead up to one of the bloodiest actions of the entire war.
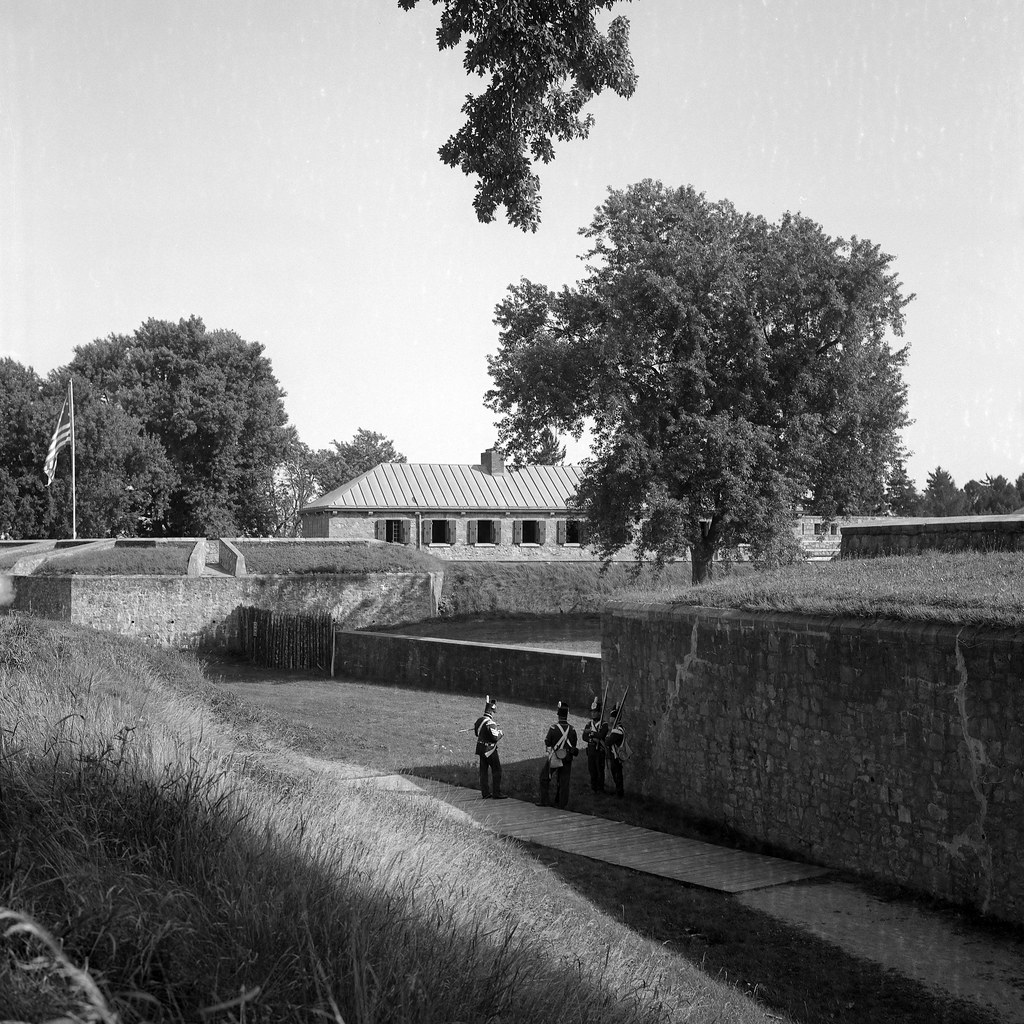
By 1814 Fort Erie was complete and heavily fotified using both the main masonry fort and a series of earthwork walls and batteries
Rolleiflex 2.8F – Carl Zeiss Planar 80mm 1:1.8 – Ilford Pan F+ @ ASA-50 – Kodak Xtol (1+1) 7:45 @ 20C
Drummond’s siege lines opened on 13 August 1814. However, their distance and small caliber artillery meant that Drummond’s bombardment had little effect on the American fortifications. General Drummond was not an artillery man, he was one of action and decided that he would use his army to launch a direct infantry assault against the fort to dislodge the American occupiers. He gathered three commanders and divided up the troops into three assault columns each column having their target. Lieutenant Colonel Victor Fischer would lead his own Regiment de Wattville supported by the 8th, 89th, and 100th Regiments would take on the Snake Hill Battery. Colonel Hercules Scott would lead the 103rd Regiment against the Douglass battery. Drummond’s nephew, Lieutenant Colonel William Drummond would strike the main fort itself with a combined force of Royal Artillery Gunners, Royal Marines, Sailors, and elements of the 41st and 104th regiments. Native warriors would provide distractions by harassing the American sentries to draw attention away from the main columns.
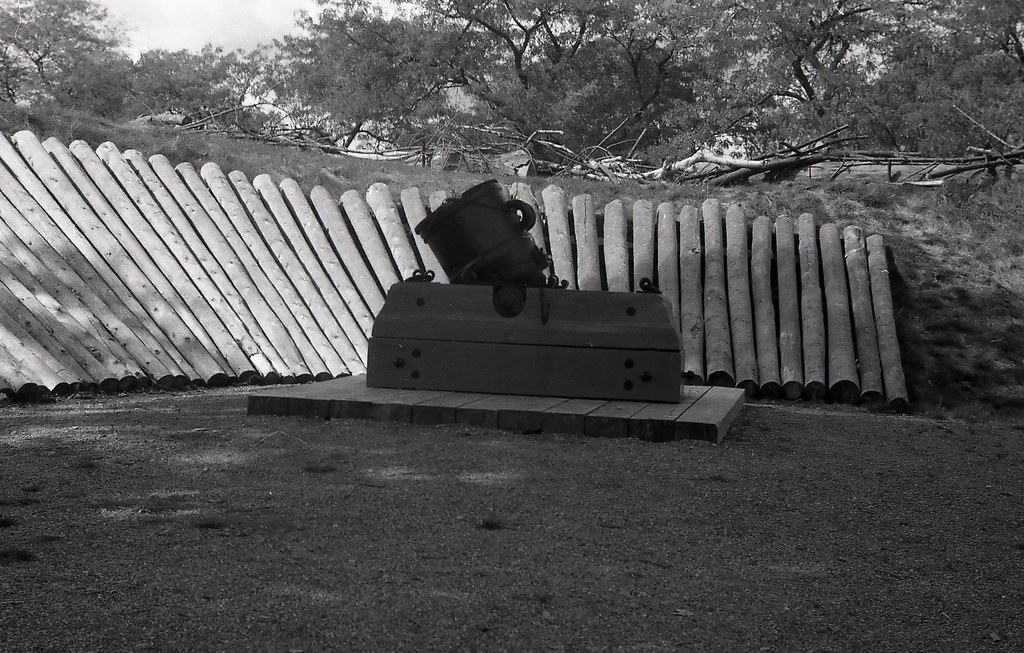
An example of a British siege motar, a short range weapon that tossed an explosive shell at a high angle over walls.
Leica IIIc – Leitz Summitar f=5cm 1:2 (Yellow Filter) – Fuji Neopan SS – HC-110 Dil. B 5:30 @ 20C
The assault was planned under cover of darkness for the 14th/15th of August. Coordinating attacks was difficult even during the day, but at night it was next to impossible. The massive mobilization of the British columns was easily spotting by American sentries, and the heavy rain allowed for even the most disciplined troops to be spotted in the darkness through the sound of the grass and its movement. It was Fischer’s column to make contact first, by the time they entered the clearing the Americans were ready and fired on the massed column. With their flints removed they had no way to shoot back. When they finally made it up to the walls, they found that the ladders were far too short. The de Wattvilles scattered, breaking through the British Regulars behind them carrying them back taking casualties the whole way. With the alarm raised the other two columns were marching into hell. Colonel Scott’s 103rd fared little better. The British traded volley after volley with the American defenders, some British tried to flank the battery by way of the river only to find themselves trapped or swept away to their deaths. One surviving officer called out to the Americans that they were friendly troops, it didn’t last long, shattered the 103rd retreated in disorder. Colonel Drummond’s column found some success, using the fort’s dry ditch to hide their movements.
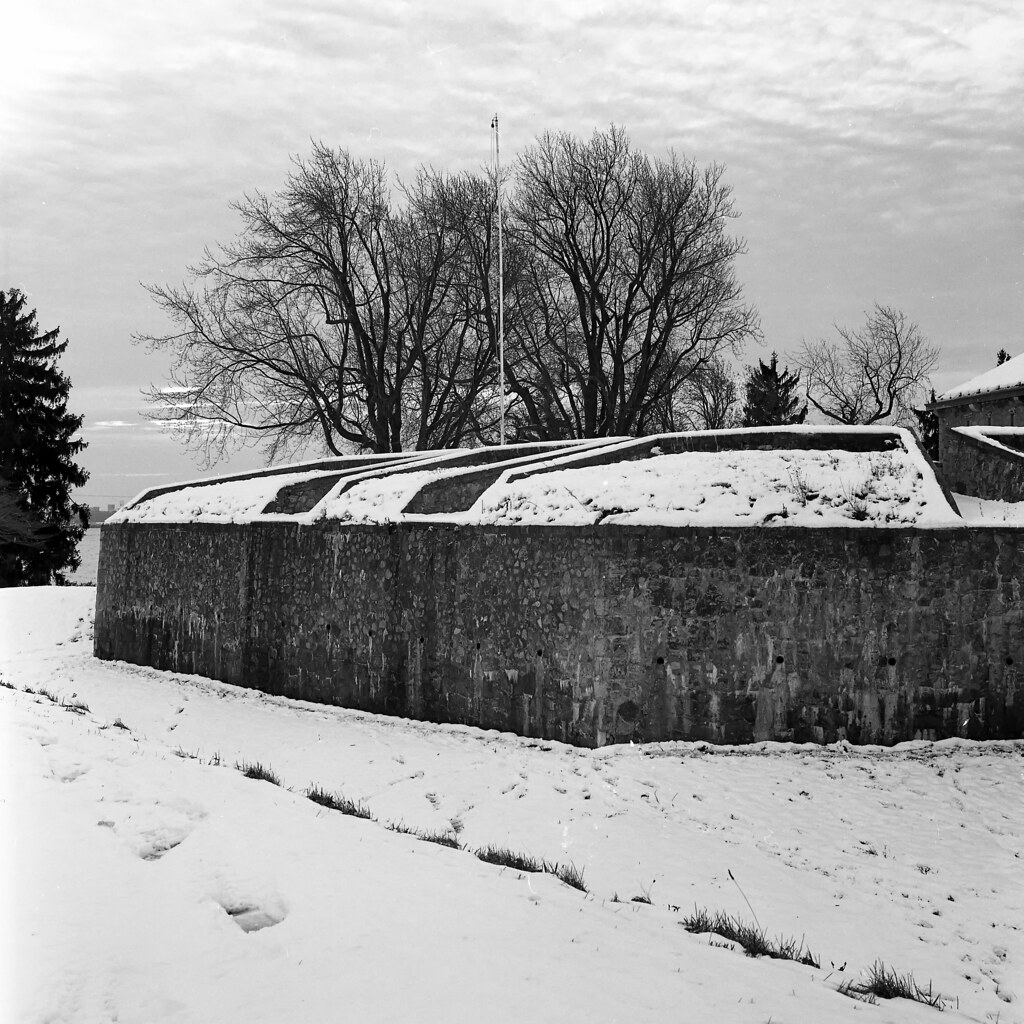
The North Bastion as it stands today. While not used during the annual siege event as it is out of public view and the site of so many dead.
Rolleiflex 2.8F – Carl Zeiss Planar 80mm 1:2.8 – Kodak Plus-X Pan (PXP) @ ASA-125 – PMK Pyro (1+2+100) 14:00 @ 21C
Colonel Drummond leading the charge himself scaled the ladder, having traded his sword for a boarding pike, the surprised American gunners found themselves fighting for their lives and were chased out or killed. The British had a foothold in the fort. The gunners that had joined the fight struggled to turn the captured gun around to fire it into the fort. The defended managed to reorganize and made to turn back the British attack. Neither side could gain any advantage, both sides trapped inside the stone walls. It’s unknown where the spark came from, but it fell into the powder magazine beneath the bastion, setting the whole thing alight. The captured gun was sent flying over one hundred yards, rock and dirt alike killed or wounded. Many of the American defenders avoided severe casualties thanks in part to the stone blockhouses; the British suffered 200 dead in the blast. Fearing the Americans had booby-trapped the fort, the surviving British troops fled in fear of their lives. The surgeon of the 89th, Tiger Dunlop would work three days on the casualties. It was reported that at roll call the next day soldiers were openly weeping in the face of so many dead, dying, and wounded. The weather didn’t help, exposure and illness took their toll on the shattered army.
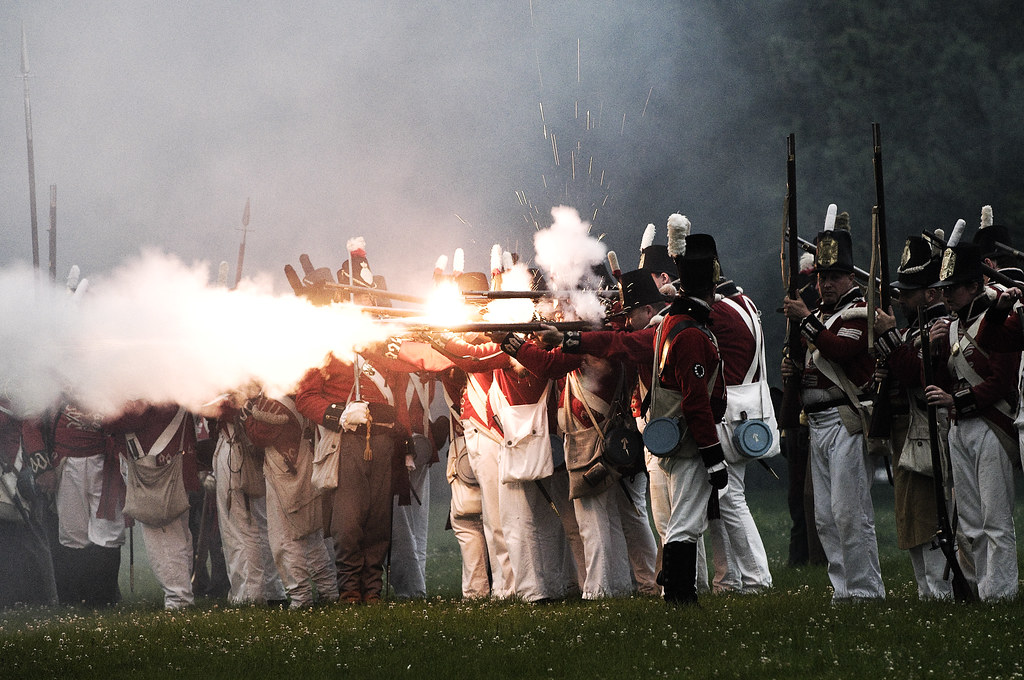
Reenactors at the annual siege event fire on the American defenders during the night assault.
Nikon D300 – AF-S Nikkor 70-200mm 1:2.8G
But Drummond was far from over, he began to expand his artillery support and moved the lines in closer while reinforcing his infantry. By the end of August, he had opened up a new artillery battery that would easily reach the main fort. Fearing this, the Americtoegan to send out sorties to probe and hopefully force a retreat. The sortie on 17 September saw the Americans capture and knock the new battery out of service and attempt to do the same with battery two. The Americans at Battery Two found themselves trapped by the 82nd after the alarm was raised. An American Rifleman discharged his weapon killing the commanding officer of the 82nd, Major Pattison, enraged the British charged in putting any survivors to the bayonet. Drummond would disband his siege a few days later on the 21st pulling his army back to Chippawa. The Americans would engage the British at Chippawa and Cooks Mills. While the battle at Cooks Mills would see the destruction of supplies for the British Army, Drummond would capture American supplies allowing his army to stay in place. Not wanting to stay the winter, the Americans would withdraw in November, destroying the fort in their retreat. A small force under Captain James FitzGibbon would occupy the ruins until word of peace reached Upper Canada in early 1815.
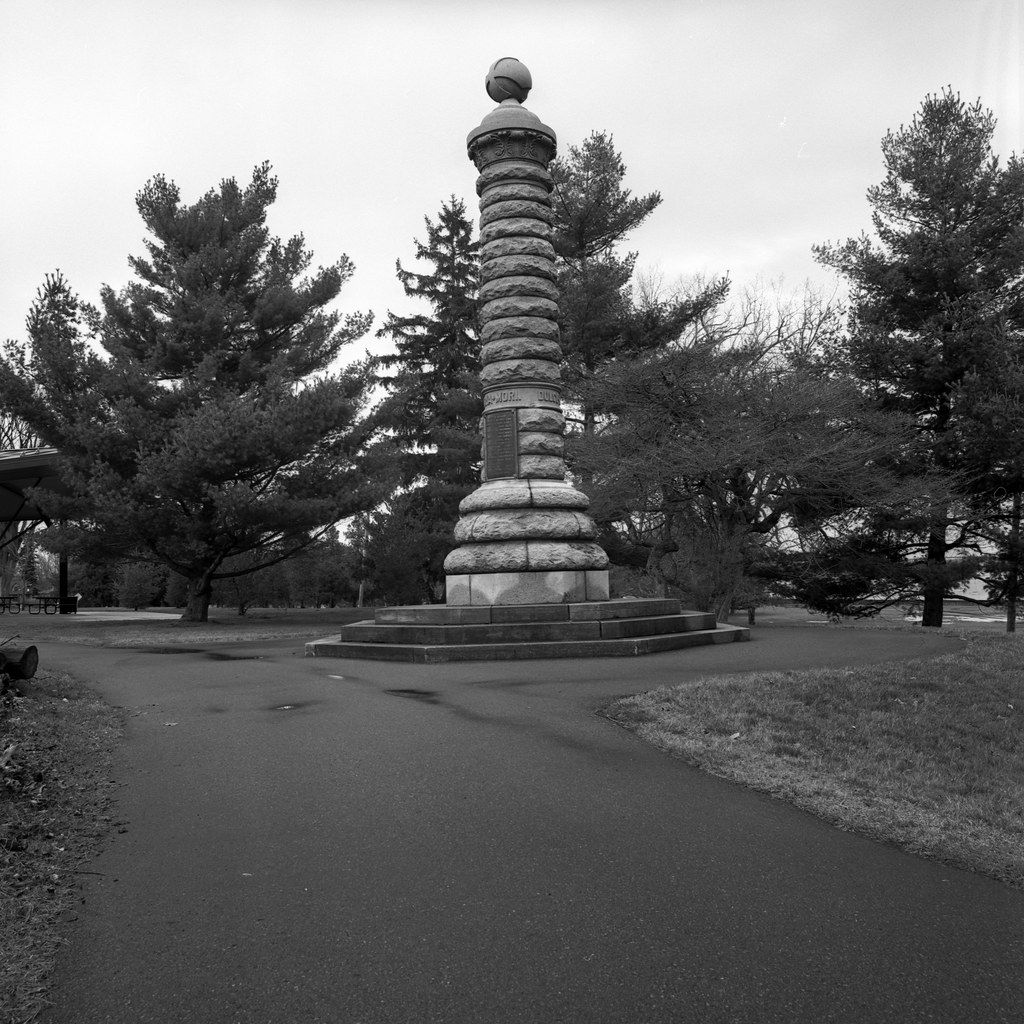
Both a memorial and a grave marker for the British dead during Drummond’s Night Assault. Many of the American remains were reburried in Buffalo in the 1980s.
Hasselblad 500c – Carl Zeiss Distagon 50mm 1:4 – Rollei RPX 25 @ ASA-25 – Blazinal (1+50) 11:00 @ 20C
Today the actions of this final major battle of the Anglo-American War of 1812 is honoured and remembered every August at Old Fort Erie. Hundreds of reenactors gather to put on demonstrations of the entire campaign of the Summer of 1814. From the surrender of the fort, right to the final sortie by the Americans. The fort itself was rebuilt in the 1930s to show off the 1814 design of masonry fort as the Americans would have completed it before the expansion of the earthworks. The fort also constructed a brand new visitor’s centre ahead of the 2012-2015 bicenntinal of the conflict and has an expansive museum and siege works to show the public.
Written with files from:
Guidebook to the Historic Sites of the War of 1812 Second Edition by Gilbert Collins – 2006 The Dundurn Group Publishers
Hickey, Donald R. Don’t Give up the Ship!: Myths of the War of 1812. Urbana: U of Illinois, 2006. Print.
Lossing, Benson John. The Pictorial Field-book of the War of 1812. Gretna, LA: Pelican Pub., 2003. Print.
Berton, Pierre. Flames across the Border, 1813-1814. Markham, Ont.: Penguin, 1988. Print.
Hickey, Donald R. The War of 1812: A Forgotten Conflict. Urbana: U of Illinois, 1989. Print.
Web: www.warof1812.ca/forterie.htm
Web: www.niagaraparks.com/old-fort-erie/history.html