At the beginning of August, I had the chance to attend my first 1812 Grand Tactical, far from my first Grand Tactical having to attend a couple but for the Napoleonic Wars. But what made this one different is that I was back as a photographer which is how I first started in the hobby back in 2008. But now, ten years later, I had far more experience both as a photographer and as a reenactor. In honour of that, I’ll be presenting this post in a somewhat of a different way, as a newspaper report of a frictional engagement that was used as a basis of the tactical event.
War Comes to the Northern Lake!
An American Invasion captures a key strategic cove
Alexander G. Luyckx, in service of his Britannic Majesty George the Third, by the Grace of God, King of Great Britain, France, and Ireland, Defender of the Faith, and so forth, attached to his Majesty’s 49th (Hertfordshire) Regiment of Foot, Grenadier Coy.
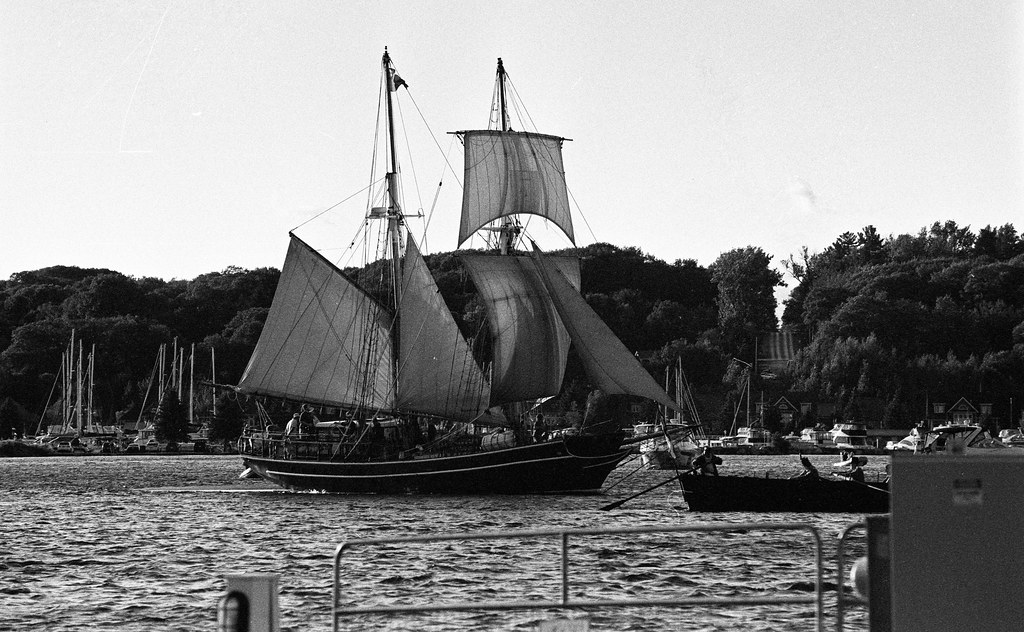
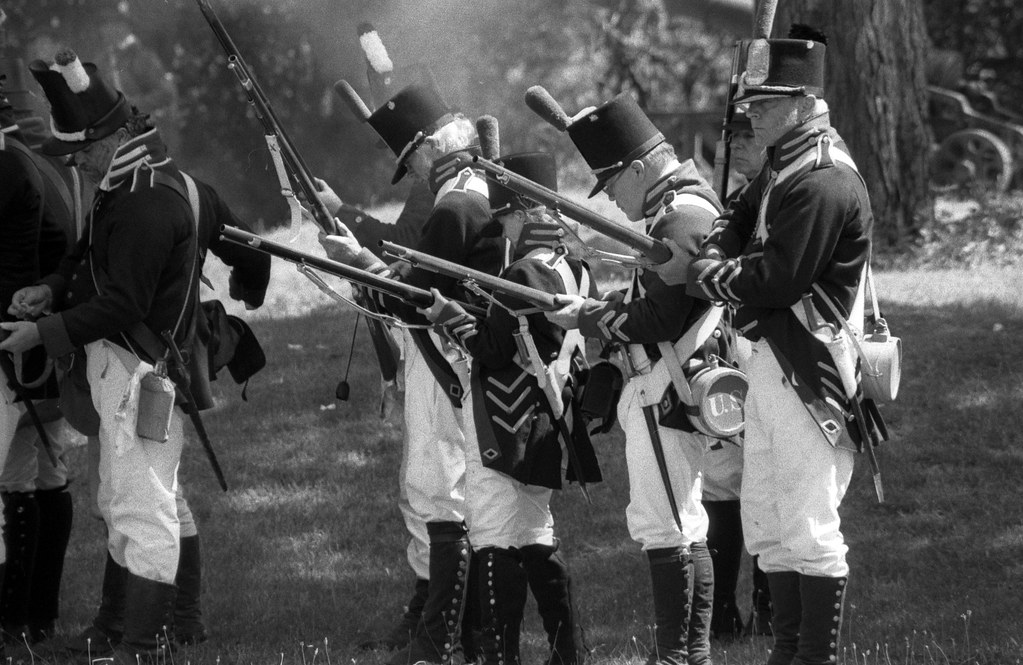
Nikon F5 – AF-S Nikkor 70-200mm 1:2.8G VR – Derev Pan 400 @ ASA-400 – Blazinal (1+100) 60:00 @ 20C
American forces, under the command of Captain Andrew Sinclair and Lieutenant Colonel George Croghan after the destruction of H.M. Schooner Nancy, bombarded an advanced miltia and regular force before landing a large invasion force in the Georgian Bay region. Local regular, irregular and militia forces attempted to drive the American forces back to their ships in the brave defence of the settlement on Georgian Bay. The invading Americans successfully drove back the British defenders, capturing and forcing the surrender of both Midland and Penetanguishene capturing local leaders and subjecting crown subjects to the ignominious treatment of having their homes and business looted. It is said that among those regiments included in the American force is the notorious Joseph Wilcox and his band of turncoats, who call themselves the Canadian Volunteers. As His Majesty’s forces withdrew in order to resupply and reinforce, support from York marches north along Yonge Street and the Penetangushine Road carved from the wilderness by Lieutenant Colonel Robert McDouall of the Glengarry Light Infantry of Fencibles and the men of the Royal Newfoundland Regiment earlier in the year.

Nikon F5 – AF-S Nikkor 70-200mm 1:2.8G VR – Derev Pan 400 @ ASA-400 – Blazinal (1+100) 60:00 @ 20C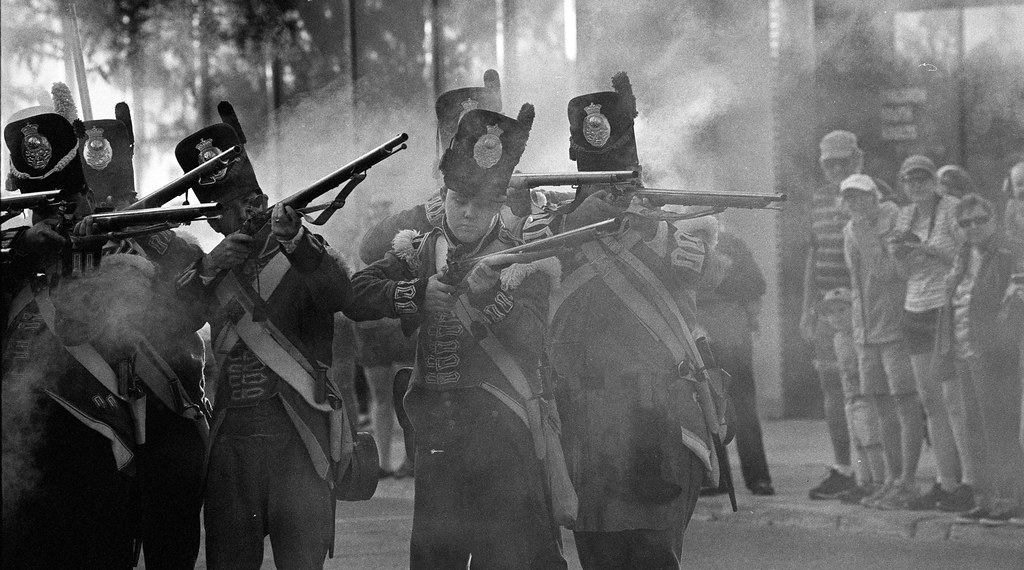
Nikon F5 – AF-S Nikkor 70-200mm 1:2.8G VR – Derev Pan 400 @ ASA-400 – Blazinal (1+100) 60:00 @ 20C
Nikon F5 – AF-S Nikkor 70-200mm 1:2.8G VR – Derev Pan 400 @ ASA-400 – Blazinal (1+100) 60:00 @ 20C
Nikon F5 – AF-S Nikkor 70-200mm 1:2.8G VR – Derev Pan 400 @ ASA-400 – Blazinal (1+100) 60:00 @ 20C
Realising they had no hope of Victory, the Crown Forces under the command of Brigadier General C. Williams and Lieutenant Colonel T. Fornier regrouped in the settlement of Penetangushine behind hastily constructed barricades where again they mounted a brave defence, but fearing the loss of life retreated once more and aided by the men of the Royal Navy and Provincial Marine pulled back in order to regroup. However, American forces managed to capture our naval establishment on Georgian Bay.

Mamiya m645 – Mamiya-Sekor C 45mm 1:2.8 N – Ilford FP4+ @ ASA-100 – Kodak D-23 (Stock) 6:00 @ 20C
The brave men of the brigade were not done yet, in order to screen the planned fortification of nearby Magazine Island a probe landed behind the American lines in order to draw the bulk of the American forces away from the upper section of the establishment. Using a combined force of gunships, regulars, and militia. Along with false information spread through his Majesty’s native allies, the feint worked. And while our men took heavy losses, it gave time for the Royal Artillery and the Royal Navy to fortify nearby Magazine Island in order to properly lay siege and land a large force to force the surrender of the American forces.

Nikon F5 – Tameron AF 100-300mm 1:5-6.3 – Fomapan 100 @ ASA-100 – Blazinal (1+50) 7:30 @ 20C
Nikon F5 – Tameron AF 100-300mm 1:5-6.3 – Fomapan 100 @ ASA-100 – Blazinal (1+50) 7:30 @ 20C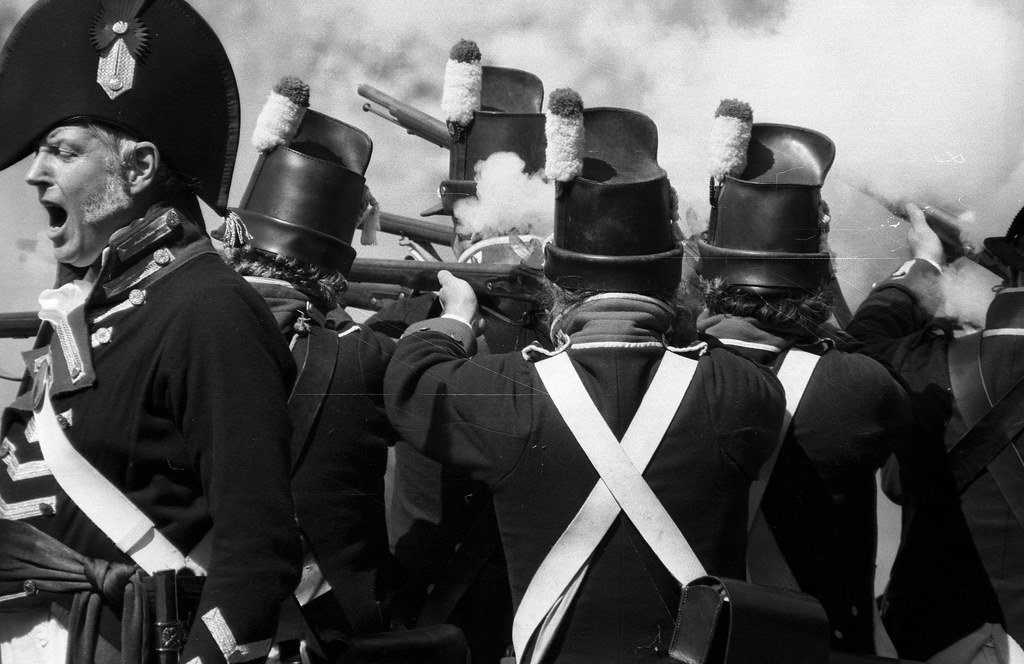
Nikon F5 – Tameron AF 100-300mm 1:5-6.3 – Fomapan 100 @ ASA-100 – Blazinal (1+50) 7:30 @ 20C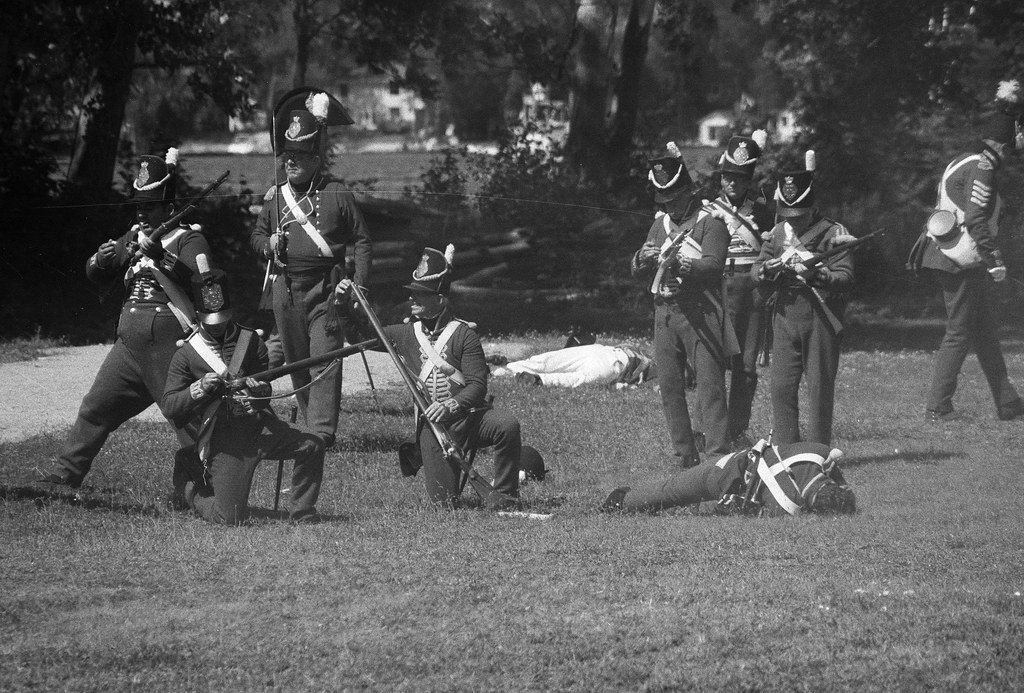
Nikon F5 – Tameron AF 100-300mm 1:5-6.3 – Fomapan 100 @ ASA-100 – Blazinal (1+50) 7:30 @ 20C
Nikon F5 – Tameron AF 100-300mm 1:5-6.3 – Fomapan 100 @ ASA-100 – Blazinal (1+50) 7:30 @ 20C
Not allowing the American forces to regroup after the afternoon’s defence of their beachhead, British troops began their landing as the sun began to set. Artillery batteries mounted on Magazine Island engaged in a dual with American forces on the mainland. Included in the island battery is a battery of Congreve Rockets along with the surviving gun crews of H.M. Sloop Nancy. British forces landed on the beach under heavy shore fire from American infantry, marines, militia and artillery.

Nikon F5 – Tamron AF 100-300mm 1:5-6.3 – Rollei RPX 400 @ ASA-400 – Kodak HC-110 Dil. B 6:00 @ 20C
Nikon F5 – Tamron AF 100-300mm 1:5-6.3 – Rollei RPX 400 @ ASA-400 – Kodak HC-110 Dil. B 6:00 @ 20C
Nikon F5 – Tamron AF 100-300mm 1:5-6.3 – Rollei RPX 400 @ ASA-400 – Kodak HC-110 Dil. B 6:00 @ 20C
With brutal discipline and force, the British forces unleashed a level of violence not seen in the previous engagement. The American defenders on the beach soon melted away under heavy fire from the Glengarry Light Infantry and the Light Company of the 1st (Royal Scots) Regiment. Providing a strong landing site for the main body. The Americans put up a strong defence but were forced into a retreat which they executed with honour. Both sides fought to a standstill and a temporary truce was enacted to allow both sides to bury their dead and treat the wounded. That night the surgeon’s knife did not stop and the screams were heard from both camps.

Nikon F5 – Tamron AF 100-300mm 1:5-6.3 – Rollei RPX 400 @ ASA-400 – Kodak HC-110 Dil. B 6:00 @ 20C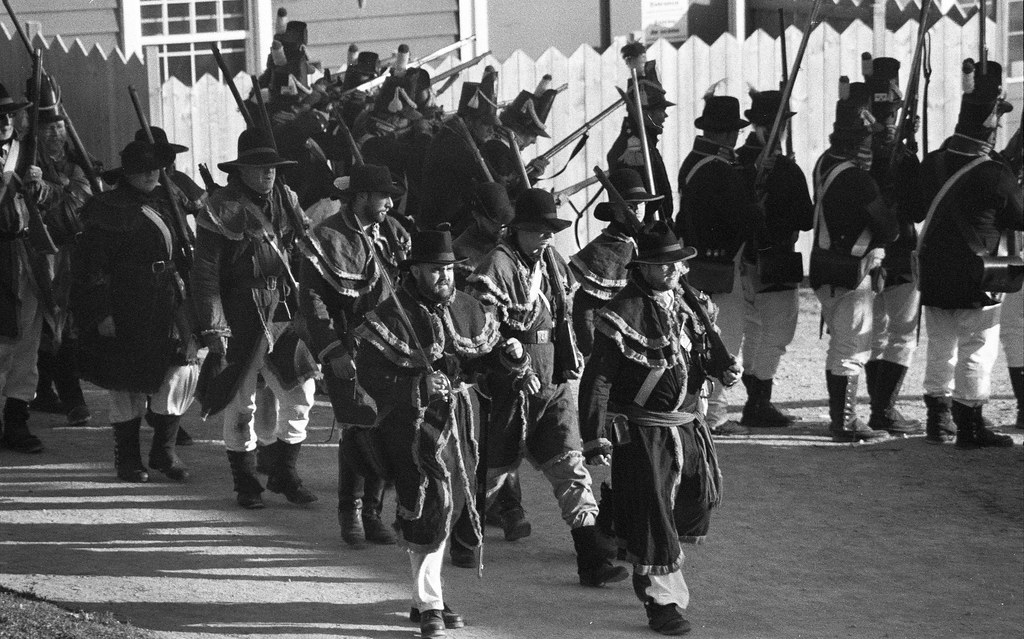
Nikon F5 – Tamron AF 100-300mm 1:5-6.3 – Rollei RPX 400 @ ASA-400 – Kodak HC-110 Dil. B 6:00 @ 20C
Nikon F5 – Tamron AF 100-300mm 1:5-6.3 – Rollei RPX 400 @ ASA-400 – Kodak HC-110 Dil. B 6:00 @ 20C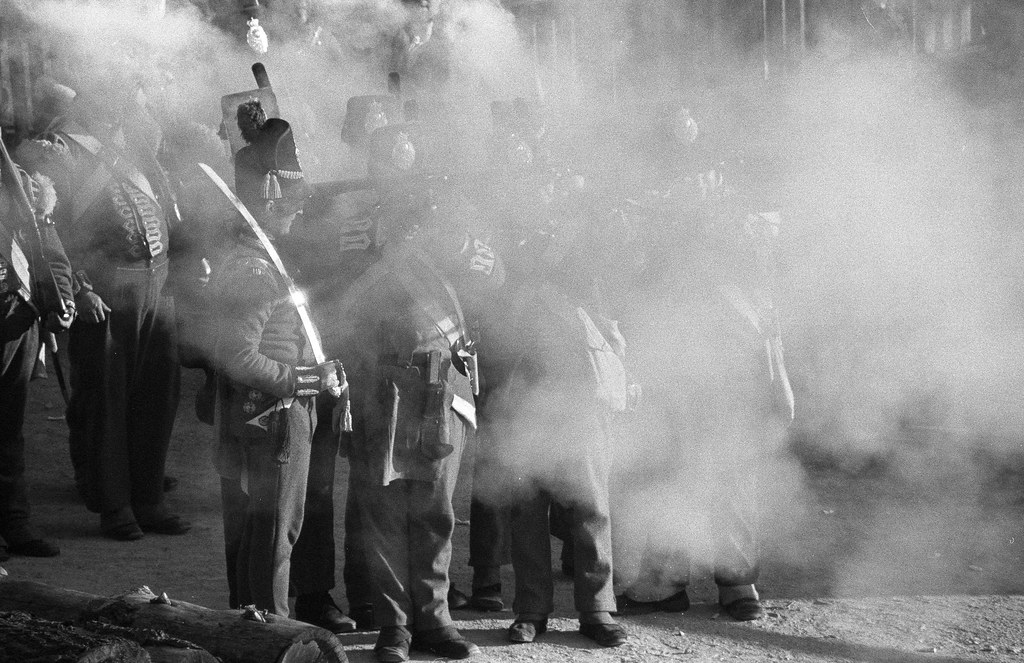
Nikon F5 – Tamron AF 100-300mm 1:5-6.3 – Rollei RPX 400 @ ASA-400 – Kodak HC-110 Dil. B 6:00 @ 20C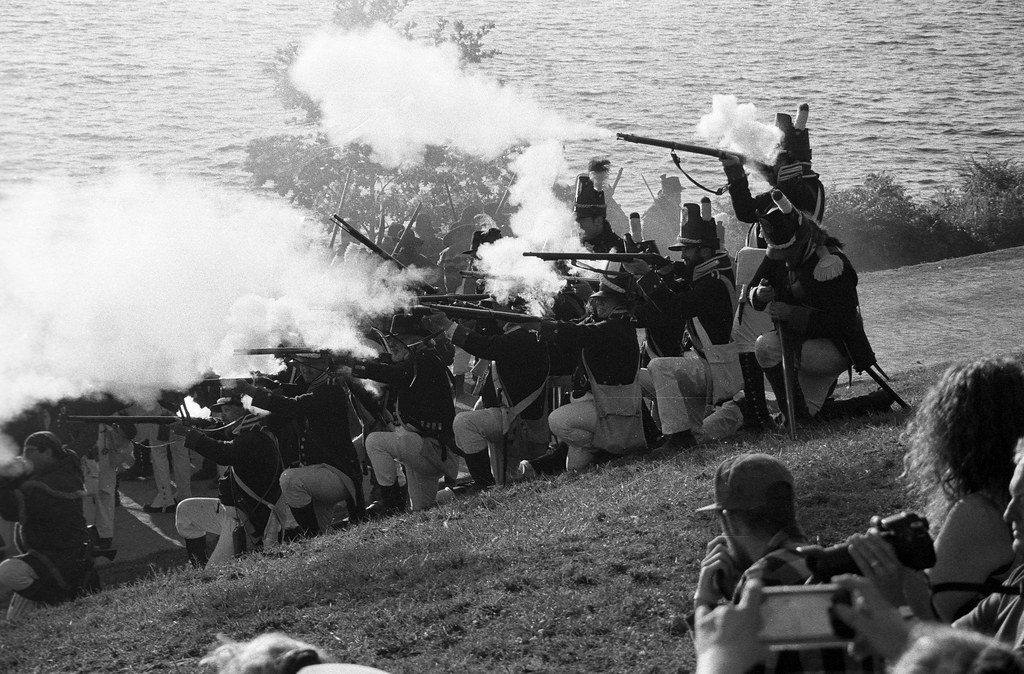
Nikon F5 – Tamron AF 100-300mm 1:5-6.3 – Rollei RPX 400 @ ASA-400 – Kodak HC-110 Dil. B 6:00 @ 20C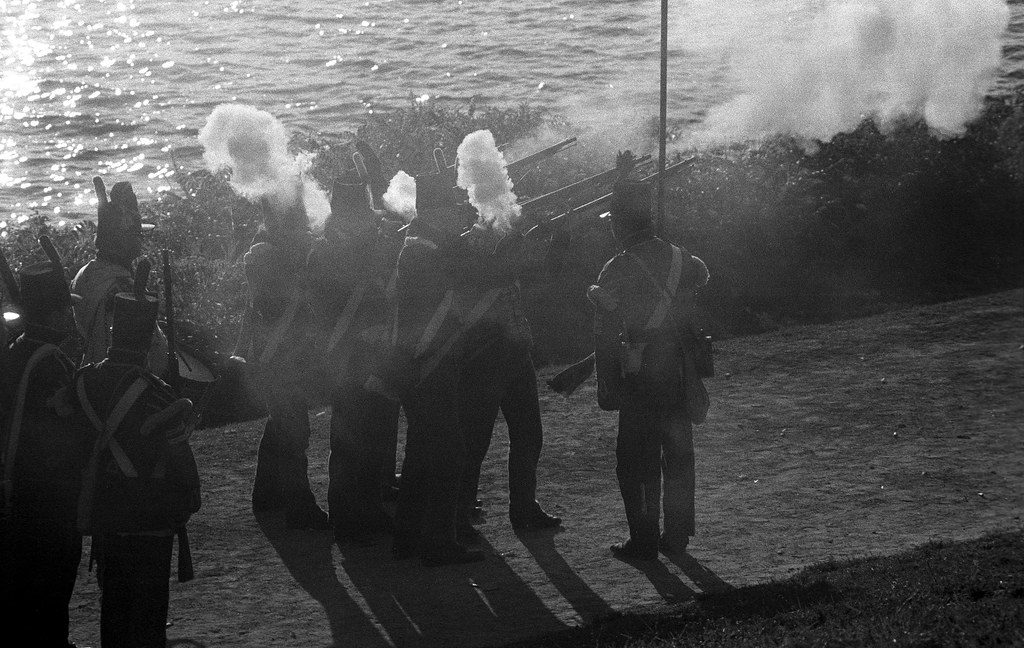
Nikon F5 – Tamron AF 100-300mm 1:5-6.3 – Rollei RPX 400 @ ASA-400 – Kodak HC-110 Dil. B 6:00 @ 20C
By the following afternoon and the American lines now in disarray and severely crippled the British force marched forward and engaged the American pickets. Brave light infantry troops from several regiments stood up to a desperate group of defenders. Despite their crippled force, the Americans made the men of the Crown Forces pay with both sides taking heavy losses. Both light infantry and line infantry troops fought bravely in the face of overwhelming odds as the forces of the Royal Navy and Provincial Marine patrolled the shore to prevent many Americans from retreating. With their backs to the water, the American commanders offered their swords to General Williams, who as a man of honour allowed them to keep their personal arms in order to secure their parole and surrender.

Nikon F5 – Tamron AF 100-300mm 1:5-6.3 – Cinestill BwXX @ ASA-200 – Cinestill D96 (Stock) 6:30 @ 20C
Nikon F5 – Tamron AF 100-300mm 1:5-6.3 – Cinestill BwXX @ ASA-200 – Cinestill D96 (Stock) 6:30 @ 20C
Nikon F5 – Tamron AF 100-300mm 1:5-6.3 – Cinestill BwXX @ ASA-200 – Cinestill D96 (Stock) 6:30 @ 20C
Nikon F5 – Tamron AF 100-300mm 1:5-6.3 – Cinestill BwXX @ ASA-200 – Cinestill D96 (Stock) 6:30 @ 20C
Nikon F5 – Tamron AF 100-300mm 1:5-6.3 – Cinestill BwXX @ ASA-200 – Cinestill D96 (Stock) 6:30 @ 20C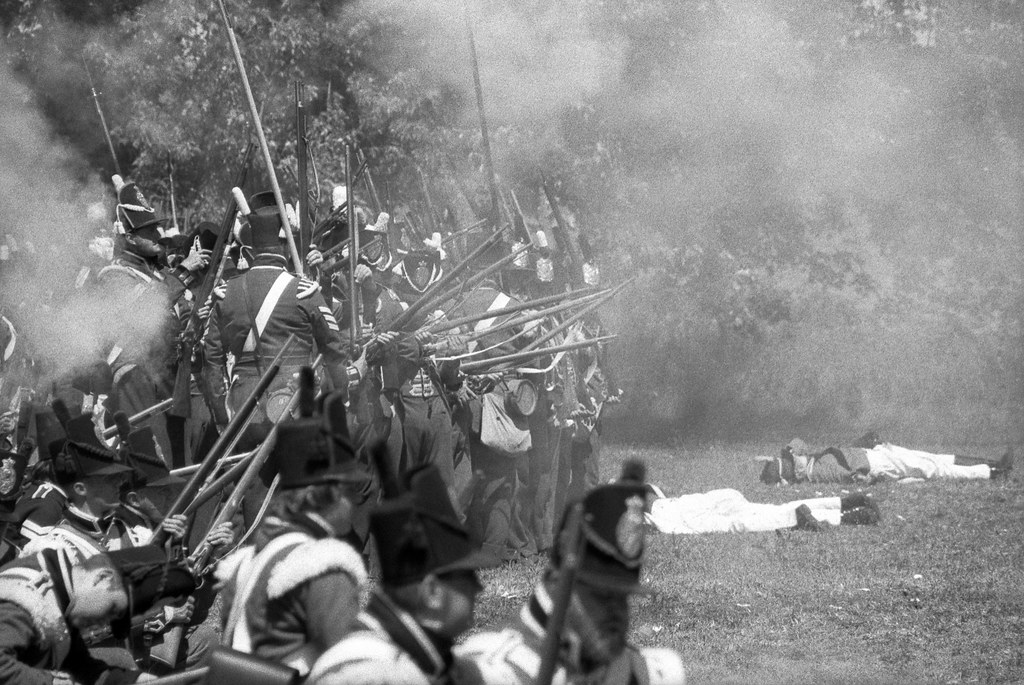
Nikon F5 – Tamron AF 100-300mm 1:5-6.3 – Cinestill BwXX @ ASA-200 – Cinestill D96 (Stock) 6:30 @ 20C
With the establishment secured the American prisoners sent home under parole or under guard to Kingston and Quebec City General Williams thanked the sacrifice of the men who gave their lives. In a rare break in discipline, the British force let out a cheer both for their victory and the brave efforts of their gallant foe.
God Save the King
Alexander G. Luyckx Esq,
In his Majesty’s Photographic Service
In reality, the action described here did not actually happen during the Anglo-American War of 1812. But that doesn’t mean Lake Huron was quiet during the war. Several small actions took place on the shores of Georgian Bay. The Battle of Lake Huron which took place at the end of August 1814 took place at Wasaga Beach with the destruction of the H.M. Schooner Nancy by an American Navy and Army force. The surviving crew along with members of the garrison at Mackinac Island captured the two remaining American ships the US Schooner Tigress and US Schooner Scorpion in what is known as the Battle of Lake Huron. On a technical note, it has been some time since I shot an entire event, not to mention so much of it on film. And overall I am rather pleased with how many shots turned out and the magic of black & white in this case. Not only that but doing all this while dressed in period garb, that means that I wore wool trousers, a long-sleeved shirt with just a simple waistcoat, boots, and a broad-brimmed straw hat. This of course juxtaposed with modern cameras, the Nikon F5 and Sony a6000 (with a 200mm Pentax lens). At least my newest lens, the Tamron 100-300mm used in many of the battles proved to be both smaller and lighter than my massive 70-200mm f/2.8 lens. And despite being slower made up for it in image quality. And in several areas, the conditions proved less than ideal from shooting into the setting sun from an elevated position for the naval assault and fighting both crowds and site staff getting in my way. Either way, both cameras proved up to the task as did the three film stocks I used (Foma 100, RPX 400, and Cinestill XX (Eastman Double-X)). Overall a fun experience, though I did miss shooting the musket.