Here in Canada, during the winter, the days aren’t always the best to get out and photograph. Either it’s bright and sunny but super cold, or it’s not that cold but overcast that the sky looks like all fifty shades of grey out there. Now I’m one that will go out in almost every condition to photograph, and I enjoy being out in the snow with a camera and even on cold days if I have the right camera and film loaded. But if you’re not one for that, there is another photographic practice that can keep you inside and bring you a whole new view on your photograph. And that is printing, specifically taking it back to the old school and printing in the darkroom. I understand that not everyone has access to a dark room. I’m lucky to have a good friend who has a fantastic setup and lets me print there. And despite the more niche market that film-based photography occupies these days, there are still plenty of personal and community darkrooms in the world today. In full disclosure, I in no way consider myself an expert printer in the darkroom and what I’m about to put down here is how I approach the skill. I do this out of love and enjoyment, also a way to defeat the sheer frustration that comes with a lot of film-based photography. I first learned how to print from my good friend Julie Douglas several years ago now, returned to the practice with a darkroom I helped build with James McFarlane, and now take it on again with the Classic Camera Revival Podcast team and Jame Lee’s darkroom. This past Christmas I created several prints to give as gifts to family members and now aim to use my hometown project to continue with the idea to finish the process and printing a group of negatives to put on a gallery show.
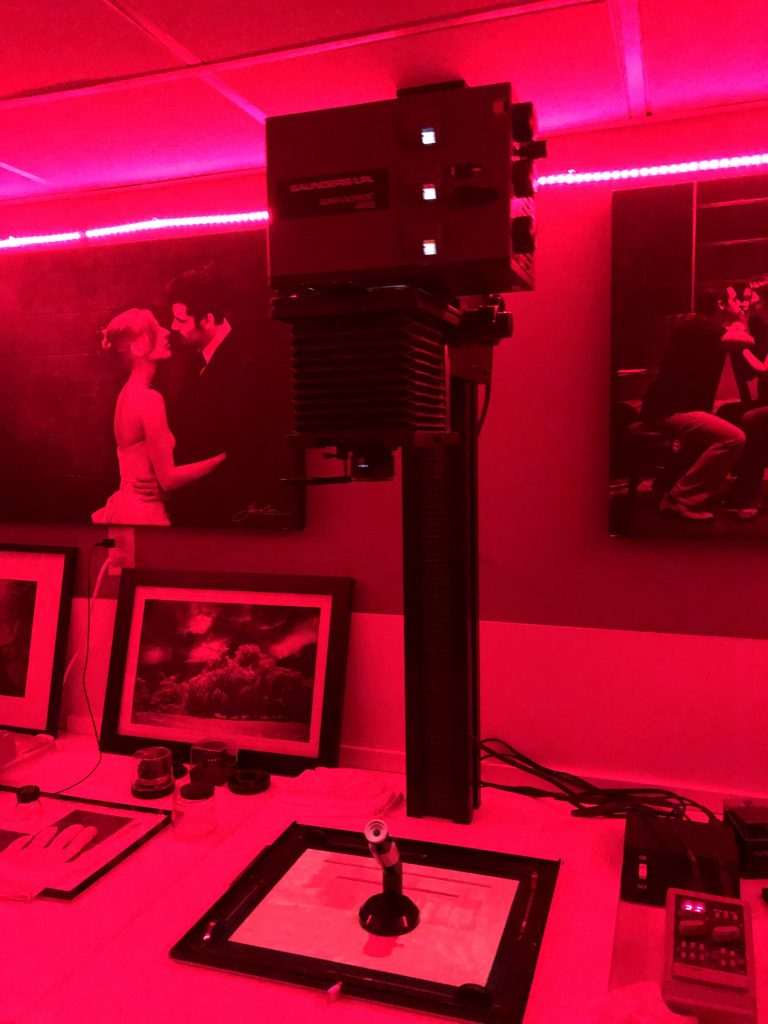
Darkroom Printing is not something that every photographer needs to do, like anything photography related you should only do it if you want. For the most part, it’s far easier to let an inkjet printer do the work, but there is a certain magic and satisfaction about making a darkroom print. Certainly try home developing before you try darkroom printing, you can do home developing a lot easier than printing, and you don’t need a light-tight room. It’s the space and equipment requirements that are the source of my first caution, don’t invest in building your darkroom unless you are into the process. Best to try it first in a community or friendly darkroom. The first thing you need is a light-tight space, or you can make light-tight. A bathroom without windows is an excellent place to start, and a towel against the crack at the bottom will seal it up. Now the name is a little misleading; you don’t have to work in total darkness for black & white printing, you can have a safe light, this is a red light that allows you have some visibility. This is thanks to the fact that the paper is orthochromatic, not fully sensitive to red light. Of course, if you leave your paper out for too long, it will fog. You will also then need an enlarger, lenses, negative holders, a timer, and trays. And then there’s the consumables, chemicals (developer, stop, fix) and paper. These days enlargers can be had in most used camera stores, or you can even purchase a kit to turn your Intrepid camera into an enlarger. It’s also good to get an enlarger that will support the largest negative you intend to print. Additionally, you’ll need lenses actually to print your work, and these are again keyed to your negative size, 50mm lenses will work best with 35mm, 75mm for your medium format, and 150mm or 135mm for your 4×5 work. The timer is critical to help with printing, especially one that can control the light source in the enlarger. Accuracy is vital to help with consistency. GraLab produces the industry standard in timers, but these are still pricy on both the new and used markets. That said, there’s a chance you could build your timer using the various home electronics kits out there. With the trays, it’s best to start with 8×10 trays, which will allow you to process your prints up to 8×10 sizes. A minimum of three is needed, but four is best. Developer, Stop, Fix, and Clear. Once done you can wash under running water. Other equipment that certainly will make your life easy is a grain focuser which will allow you to ensure your print will be in focus, an easel to help frame and hold your paper in place (get a four-bladed unit). Plenty of tongs (one for each tray), and gloves. Other pieces that are nice to have is a light table (for choosing the negative) and magnifying loupe, and something to help set your exposure time. There are two options, a Kodak Print Scale, or an Ilford EM-10. I had my first experience with the EM-10 this past weekend, and I’m sure I wasn’t using it correctly, but I had my exposure time down a lot faster than with a print scale. And finally, you have your filters; these are important today because most modern papers are Multigrade, so you can using filters to both add and remove contrast. Filters come in either physical filters you put in front of the lens, or your enlarger might have the ability to dial in a filter.
When it comes to consumables, you have as much latitude as you do with any black & white film. Your choice in paper, filter, developer, and even post-printing treatment will affect your final image. It’s just a matter of figuring out what you like. Once you start to think about the final print, you’ll be able to better dial in everything from film, developer, paper, filter, developer, and toning. As my wife is fond of saying, you have to think backwards. For me this is the more difficult part, I think if I had my darkroom at home, I’d get better, but for now, printing is usually a secondary thought as most of my film is scanned and posted online and if printed done through a lab printer, not a darkroom. But let’s talk paper. Today there is surprisingly a lot of darkroom paper available. There are two types, Resin Coated or Fibre Bases. If you’re starting Resin Coated (RC) is far easier to handle than Fibre (FB). RC will dry flat in most cases without the need for a print dryer. The downside is that if you want to tone your prints, it is harder. FB papers will curl like nothing else unless you use a print drier, but it does tone better and provide better archival stability. There are the usual finishes that you get with any inkjet photo paper, so in that case, pick what you like. I tend to stick to more matte finishes, so either matte, pearl, or satin. As for papers, while the number of papers is far less than at the height of darkrooms, there are still plenty of options. The best spot to start is Ilford, as they have both RC and FB papers to choose from, either MGIV or the latest release MGV is an excellent place to start. Get a pack of 100 sheets of 5×7 and make yourself a whole pile of prints to get used to the process as a whole. Once you have reached the hang, you can start playing with other papers. Kentmere (also Ilford), Adox, and Foma all produce paper. Now you can still find older papers, Agfa, Kodak, and others. Just be careful while they might be cheap; make sure that you know how the paper has been stored. I have used Kodak paper well stored with some success, but just a word of caution if you’re new to the whole printing thing, best to spend the cash and buy fresh to start.
The next thing to think about is the developer. If you have an existing set of film developers, there’s a chance that you might have a bottle or package of D-76/ID-11 laying around. If you do, you already have a paper developer available to you. My first experience with darkroom printing was with D-76. But today my developer of choice is Kodak Dektol, a developer that is designed for paper. General use is that Dektol is run at a 1+2 developer with a one-minute developing time, although I have done a thirty-second development time for a single print. While Dektol isn’t going anywhere, anytime soon (right Kodak?), there are other options. Ilford (duh) has some excellent choices other than just ID-11. Their paper developers include Bromphen for their Bromide papers. The Ilford Multigrade (MG) papers are drawn to the Ilford Multigrade Developer (they work great in Dektol also). And then there’s also PQ Universal which is a developer that works across the board, or if you want something slightly warmer, the Ilford Warmtone is for you. In full honesty, I have not used any Ilford paper developer. And then there is plenty of older developers that are no longer available. Still, if you know the formula you can make them yourself from raw chemicals, I’m talking of Ansco 130 and the Ansal Adam’s Variant, which you can find on the formula page of the Unblinking Eye website. Other than that, you can use regular stop bathes and fixer for paper. Kodak Hypoclear is a good choice as well to help cut down the wash time. One final step you can do is use a toner to help further ensure archival stability; the most common option is using Selenium. Just make sure to give the print a good wash before and after the toning.
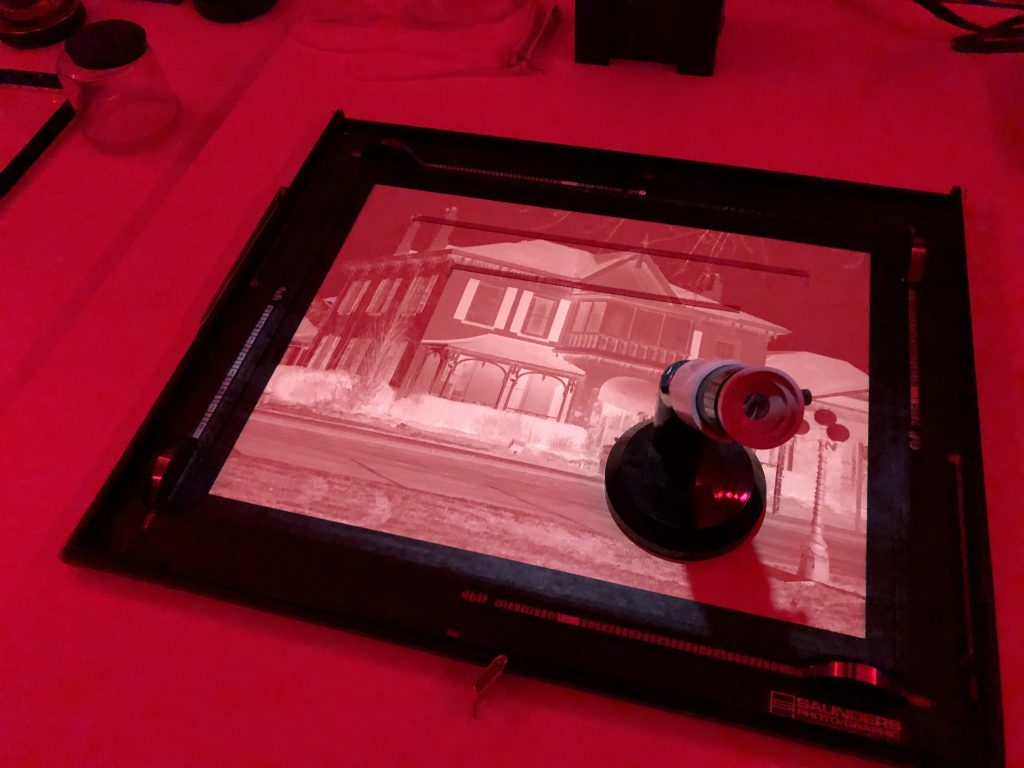
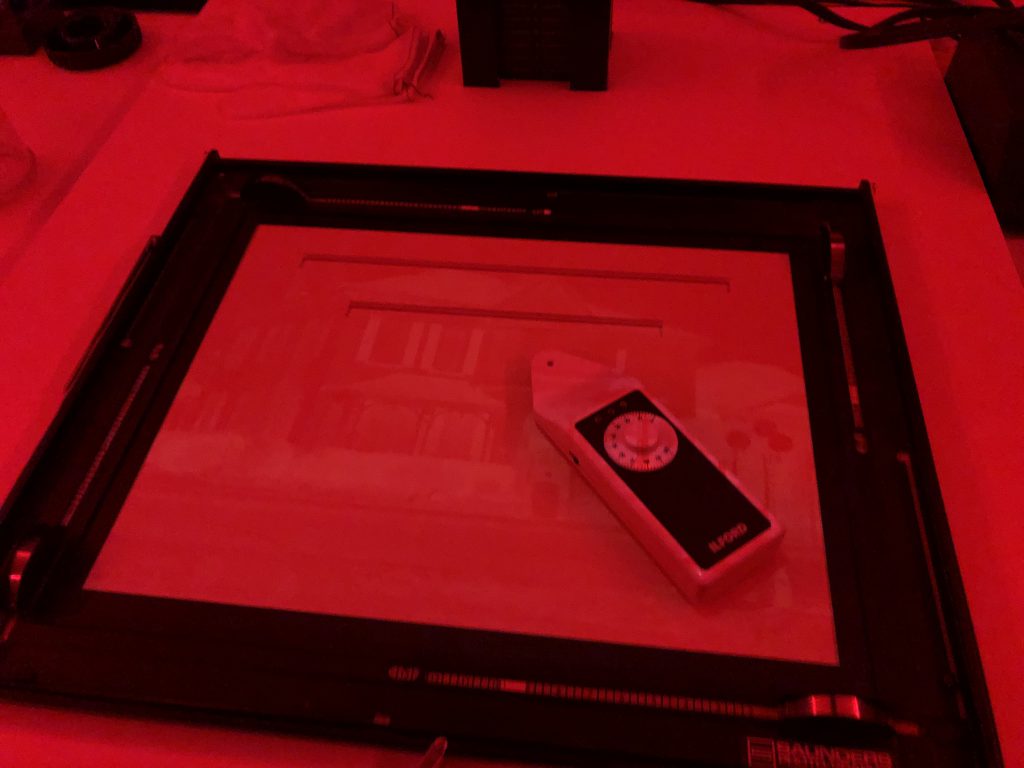
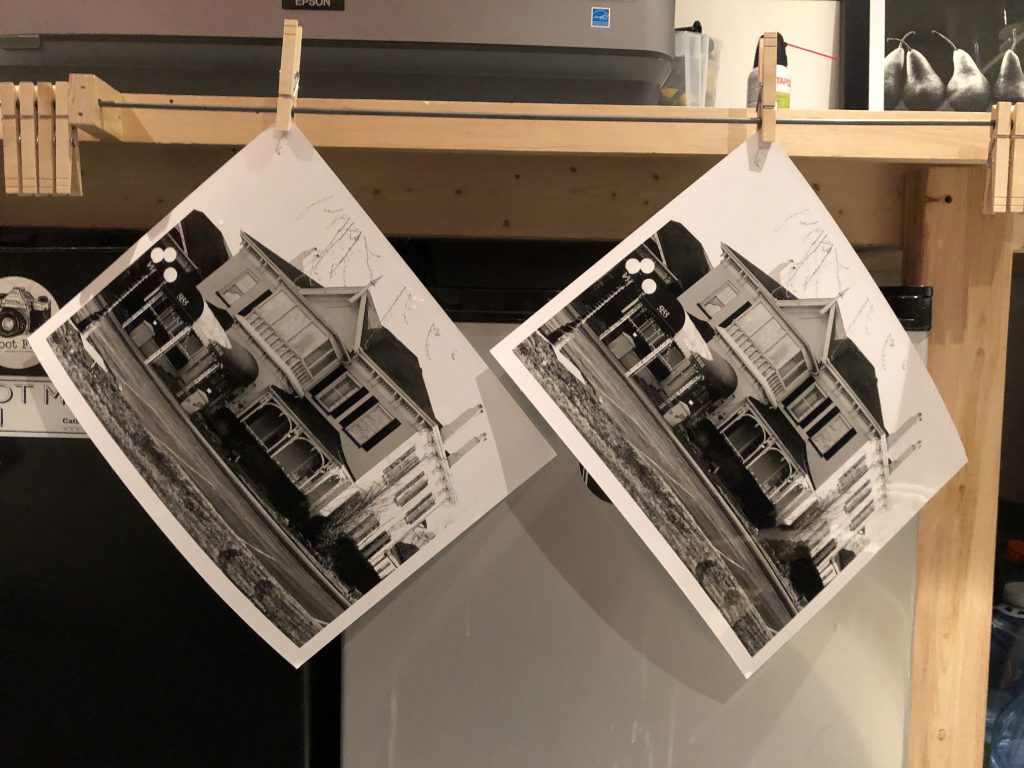
Once you get all that together, you’re ready to get into making your first print. So let me walk you through how I created some recent prints. These started with 4×5 negatives, Kodak Tri-X Pan 320 developed in Kodak D-76. After loading the negative into the holder I then set the frame size on my easel, then using the back of an old print, so I have a white surface, I leave the lens aperture wide open. I first move the enlarger head up and down to get the image to fill the area that I will be printing, then use the gross focus dial to get a rough focus. Once I’m happy there, I use a grain focuser and the fine focus control to dial in my focus. Using the grain focuser is a frustrating part and can hurt your eyes, but make sure to check a couple of areas of the print and use the fine-focus control until you can see grain detail. This task is easy on fast films, but on fine-grain films, it can be maddening. Now that I’m happy with the overall composition and focus, I can stop down the lens (I usually run at either f/22 or f/16) and engage the filter. I generally will print with an Ilford Grade 5 filter on Multigrade Paper. Once that’s done, you have to set your exposure time. The traditional way is to set the timer to 30 seconds, then using a box, expose strips at five-second intervals. Then run that initial print through your developer, stop, and fix. Then pick the time that looks the best. Another option is using a Kodak Print Scale, which is a graded piece of plastic that has a ‘pie’ which goes from light to dark. Then again, after develop, stop, fix, you can pick the piece that looks best to you. This time I decided to use an Ilford EM-10, and I’m pretty sure I used it wrong, but I got something that I liked. The EM-10 is pretty simple, a small device with a dial on it with numbers on it, and two LED indicators, two reds, and a green. How I used it was I put the EM-10 on a shadow area, adjusted the dial until the Green LED illuminated, then repeated the process for the shadows. Then took the two numbers and picked a time (in seconds) right in the middle of the two. Thankfully the timer in the darkroom can be adjusted with a great level of control down to a tenth of a second. Once that was done, I set the time on the timer and switched to the printing mode. And then double checked all my settings before taking out the actual paper. Figuring out which side of the paper is all a matter of feel, there’s a slight texture difference, and you will learn the hard way how if you put the paper in upside down. Removing the paper, checking to make sure I had the proper side facing up, I put it in the easel, closed up the container with the rest of the paper and started the print. Once the exposure is done, I take the paper over to the trays. It’s best to lay the trays out logically, moving towards your water source. A second timer here will help also. Placing the paper into the developer, gently push it all the way down until the developer is covering the paper, and start the timer (usually 1 minute for Dektol (1+2)). Rock the tray gently, so the developer is flowing over the print. This is where the moment of magic takes over, and you can watch the print appear from nothing. After the minute is up, use the same tongs to pull the print out. Letting the excess developer flow off before putting the print into the stop. Using the tongs for the stop, repeat the process, and repeat it a third time in the fix. I generally do one-minute in each chemical. Now the print will look strange under the safelight, so after the fixing, you can turn on the regular light. This gives you a chance to scrutinize your print. If the print is too light, try increasing the exposure time, too dark, decrease your exposure time. Alternately you can also open up or stop down the lens aperture. And here is where the frustration comes, it might take two, three, four, or more failed prints before getting one you are proud to show. Once you get one you’re happy with, throw it in the wash, and move onto the next print.
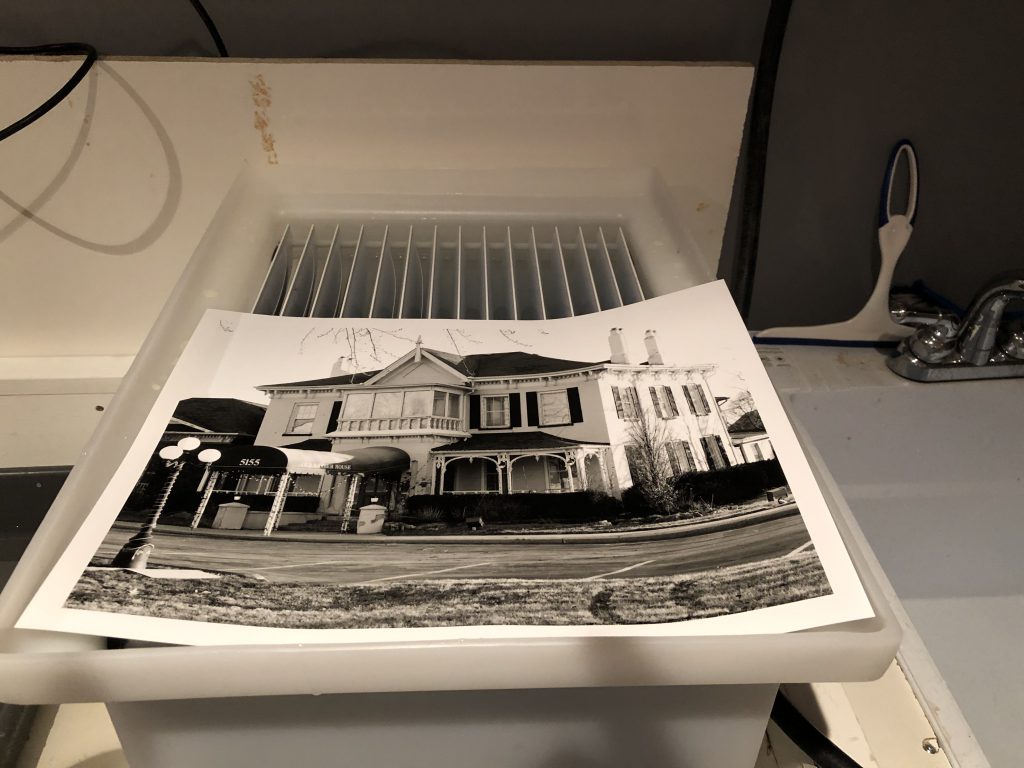
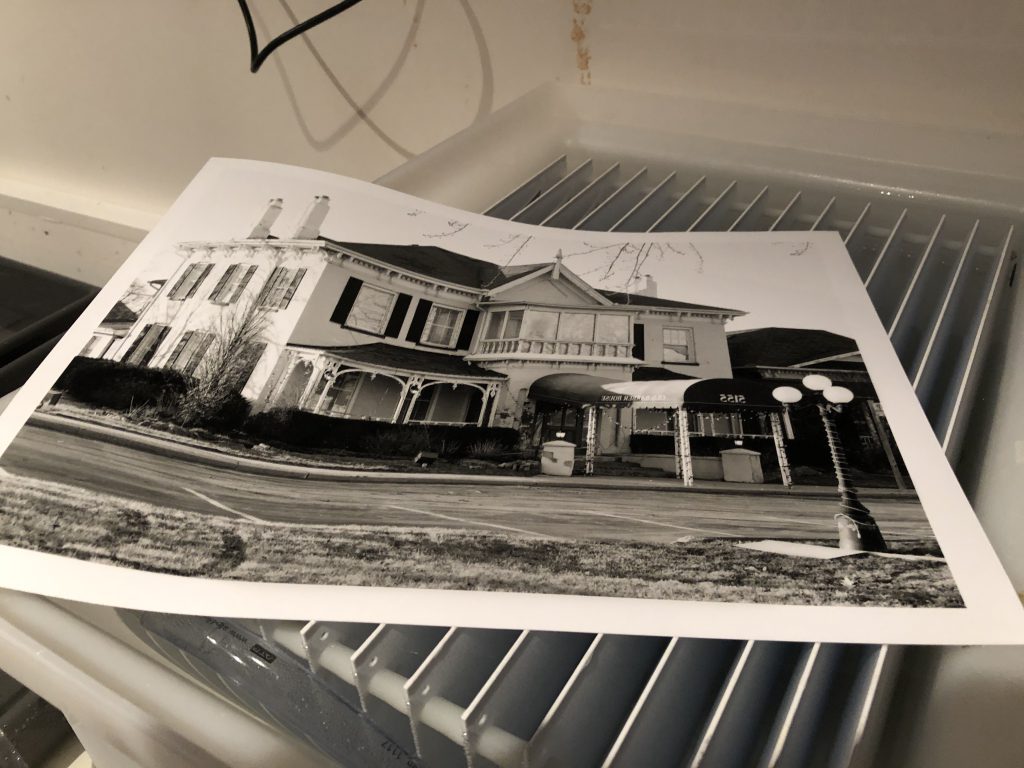
Now some prints can prove challenging; there’s too much difference between your highlights and shadows that you need to take a bit more control over the situation. I’m no expert and do my best to avoid the technique, but you can use dodging and burning. This is where you mask out areas to keep light away from areas (dodging) while allowing the light to expose other areas for longer (burning). You can use your hands or build tools, or even use failed prints to mask areas. Just be sure to keep notes on where, what, and how long you did the adjustments so you can duplicate your print for later. I certainly could have done some dodging and burning on the Barber House print, since I had that massive highlight on the one side. But I’m still getting back into the swing of things and came out with a print I’m happy about. One of the final finishing steps for printing is toning. I eluded to this earlier in the post; this is a process of introducing a different chemical to replace the silver that made the print, there are three usual options, Selenium, Gold, and Sepia. The most common and least expensive is selenium. The process can be done in full light and requires you to rewash the print, tone it (the bottle will have guides on times and dilutions) and then rewash the print. Selenium will impart a cool tone to your print, gold will warm, and sepia speaks for itself. Note that this final step is toxic, and you will need proper gloves to prevent any skin irritation. Again I have done toning in the past, but haven’t since moving to the new darkroom.
One last note, once you get your print and are happy with how it came together, the best thing you can do is take notes on the subject. And make sure to note down everything, from the lens, the filter, the paper, aperture, exposure time. Any dodging and burning (draw an include a diagram) and the times attached to each area. Development, paper, and toning. The reason is that you might want or need to reproduce the print again and it would be best to have these down, so you’re not fooling around in the dark, going over all these steps, again and again, trying to reproduce something. Plus you never know, someone might want to buy a print, or you are involved in a print exchange, or you want to give one away as a gift. Printing, as I said earlier, is magical and frustrating at the same time. It certainly isn’t for everyone, and you don’t need to get into a darkroom to be a good photographer. And like anything analogue, it will show all your flaws, keeps you humble, and makes you think just that little bit more. Too overwhelming? That’s okay, there’s always inkjet, which these days is just as good. If you’re interested in learning more about darkroom printing, check out CCR Episode 70, also a whole podcast dedicated to darkroom printing, A Light in the Dark is all about the art.