![]()
We’re switching away from our usual format and making like Paddington Bear and doing it ourselves! And there’s plenty out there from making your own developer, mounting old lenses on modern cameras, even some basic repairs you can do yourself at home. As always, we be held responsible if things mess up, we’re not professionals or trained in this matter, please do these at your own risk.

Kodak Hawkeye Lens Flip
Discussed back in Episode 2, it is possible to flip the lenses on the Kodak Hawkeye and Hawkeye Flash models of the iconic 1950s snapshot camera. Being a single element lens, this only exaggerates the soft edges and sharp center, it almost feels like you’re in a time warp! And the best part, this modification is easily done without serious damage to the camera and can be easily reversed.
You will need the following items:
- A Kodak Hawkeye or Hawkeye Flash – Easily obtainable from an antique store often for 20$ or less
- A Phillips No. 1 Screwdriver
- Parts Tin
- Pocket or Craft Knife
- Tape and a Sharpie
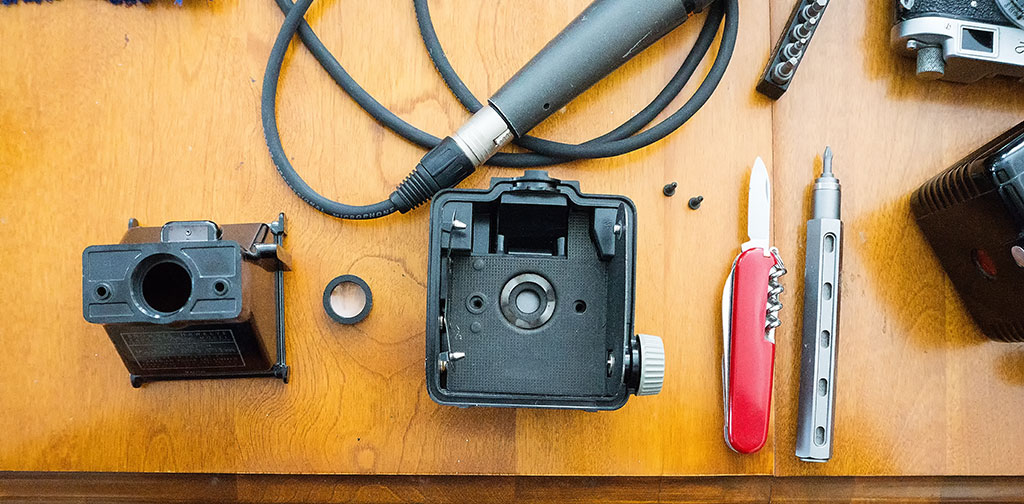
The disassembled camera and tools all laid out neatly
Now the fun part, on a clean surface, lay everything out. Remove the back from the camera as if you were loading film, then using the screwdriver remove the two screws on the inside by the lens. Remove the film holder, the lens should just fall out or can be gently pushed out with the butt end of the screwdriver. There should be two registration nubs on the lens to show which is the right way in. Shave these off carefully with the knife, make sure to leave some indication that the nubs were there, so you can reference these for reversing. Once shaved off, you can reverse the lens. Place it upside down on the metal flange on the shutter assembly then place the two screws back in the film assembly and gently place it down on the shutter assembly and tighten down the screws. The results…interesting for sure!
Desqueeking the Shutter on a Canon SLR
Ahh, the joys of the Canon A-Series cameras. Well, here’s the thing with the A-Series. They are old! I mean, we’re talking now going into the 40 year old range. With the AE-1 released in 1977, followed by the AE-1 Program and A-1, they aren’t exactly new cameras. The oil on the plastic gear (known as the mirror brake) has most likely dried up and caused it to slow down. This causes the squeal and, not forget to mention, the mirror goes stupidly slow up and stupidly slow down. The shutter, however, works as it should. This is a good thing since if the shutter was as slow as the mirror was moving you’d never be able to take a single shot with it other than ‘long’ exposures.
This is a very simple fix and one that can be attempted to anyone with even the tiniest bit of mechanical skill can do. It is also very much worth it, considering that the A-series of camera (from Canon) are well built and designed.
The Tools
- #00 Phillips Screwdriver
- Gun Oil/Machine Oil/Synthetic Lubricant
- Vit. B-12 Hypodermic Syringe (needle should be about 2 inches to 2½ inches long)
- Patience
- Facial Tissue (for cleaning up any drops of oil)
- Small magnetized tray (if available for the screws) or any kind of tray will do provided you don’t knock it over.
The Proceedure
- Remove the battery.
- Remove the bottom of the camera via the screws on the bottom plate.
- Open the syringe and open the oil then add a very tiny amount of oil to the syringe.
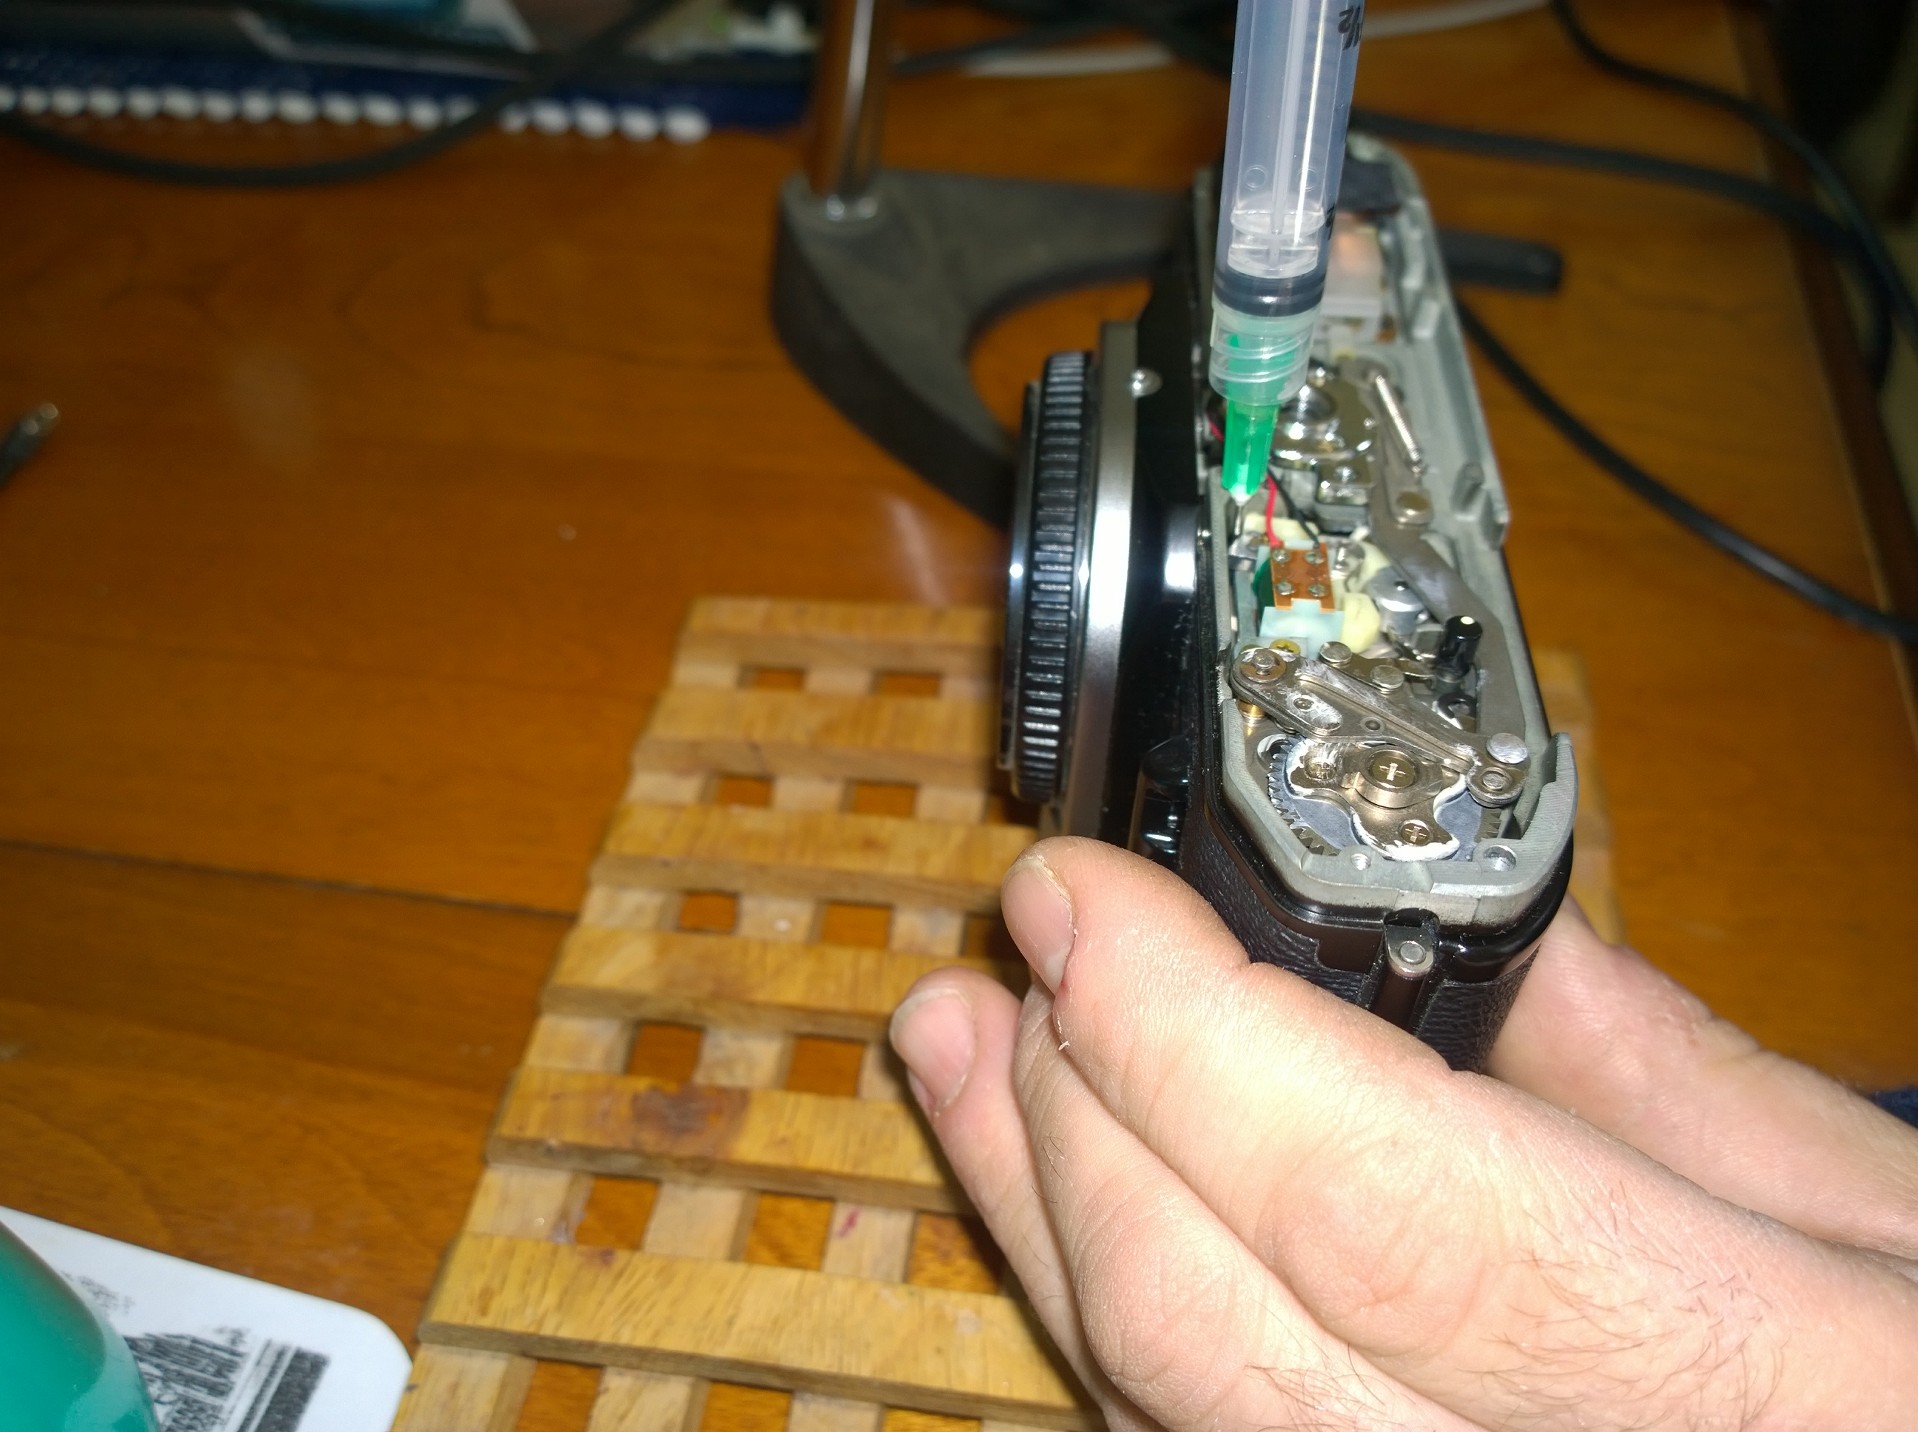
- Insert the syringe as shown in photo

- Depress the syringe and remove it from the body.
Now let it stand for a good 10 to 15 seconds, insert the battery (with the camera still upside down) and actuate the shutter 5-10 times.
If still squealing repeat steps four and five. It can take several applications of oil, but never add more than a tiny drop of oil each time.
Once you have got the camera no longer squealing, let it stand upside down with the bottom off for about 10 minutes, replace the bottom and enjoy it.
That repair will last several years and give you much enjoyment!
Word of advice, there are many videos online using WD40 for this repair. Never ever use WD40 or mineral spirits for this repair. Do no use Motor Oil or any kind of vegetable created oil (olive, Canola, Corn, Vegetable, etc.) as they are too thick to use, hence using Synthetic, Gun, or Machine Oil. WD-40 is NOT a lubricant, but a penetrating fluid. You cannot control where it needs to go and can easily get everywhere inside the camera where it isn’t supposed to be and cause a whole host of other problems. Anyone using WD-40 on a camera should have their camera equipment taken away from them and then they should be buried under used 35mm canisters!
Mounting a Brass Lens on a Press Camera
Getting that classic look is very ‘in’ at the moment, Lomography has their Petzval lens for sale, but what if you happen to get your hands on one of the actual 1890s brass lens and want to use it on your large format camera. Well you’ll first need to mount it on a proper lens board, you can either make them yourself or get someone to do the work for you. Almost all of these lenses don’t have a shutter, so a Speed Graphic or similar LF camera with a shutter in the body does help, but you can also do the old lens cap as a shutter trick, just make sure you have the scene metered properly and know how long you have to hold it open for. Not as accurate, but many who use these lenses are shooting for wet plate or paper so exposures are usually in the 1 second or more range.
Here’s the beast! (He’s holding the camera/lens combination)

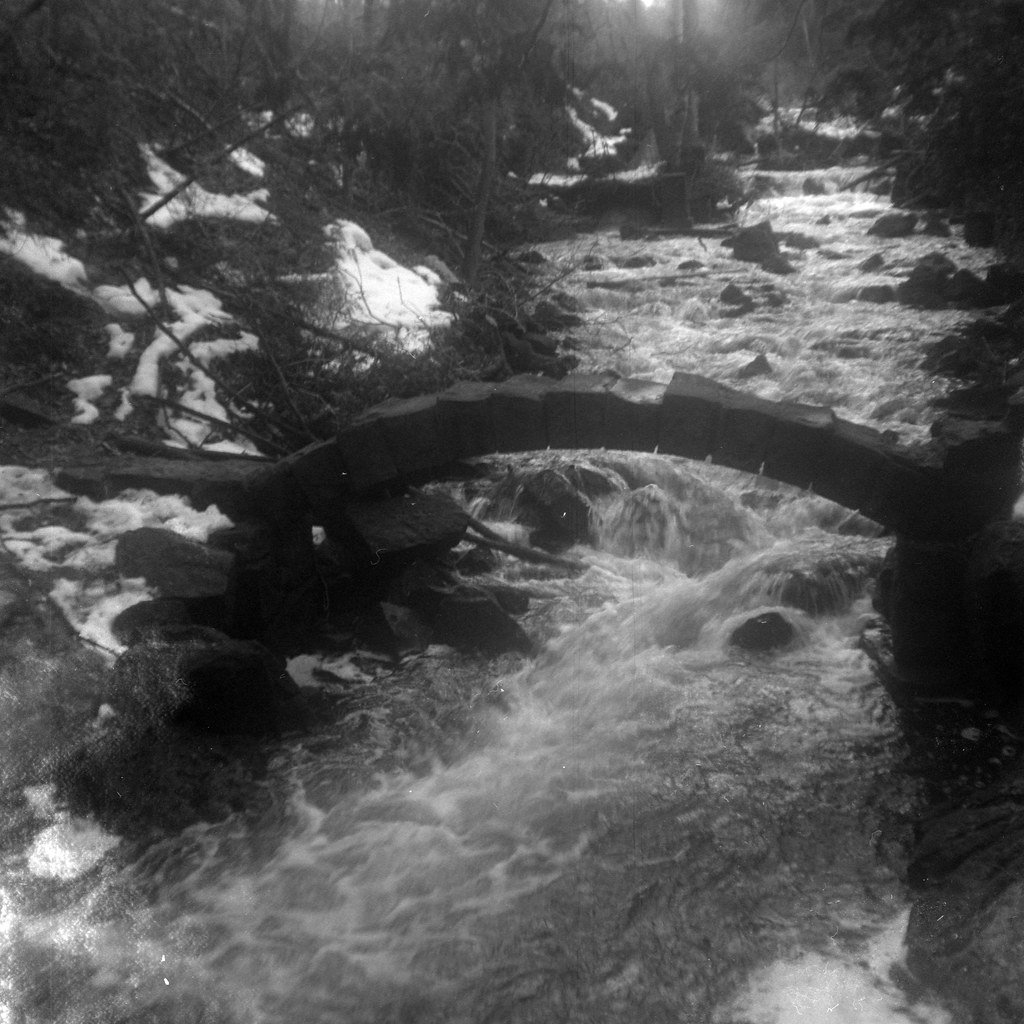
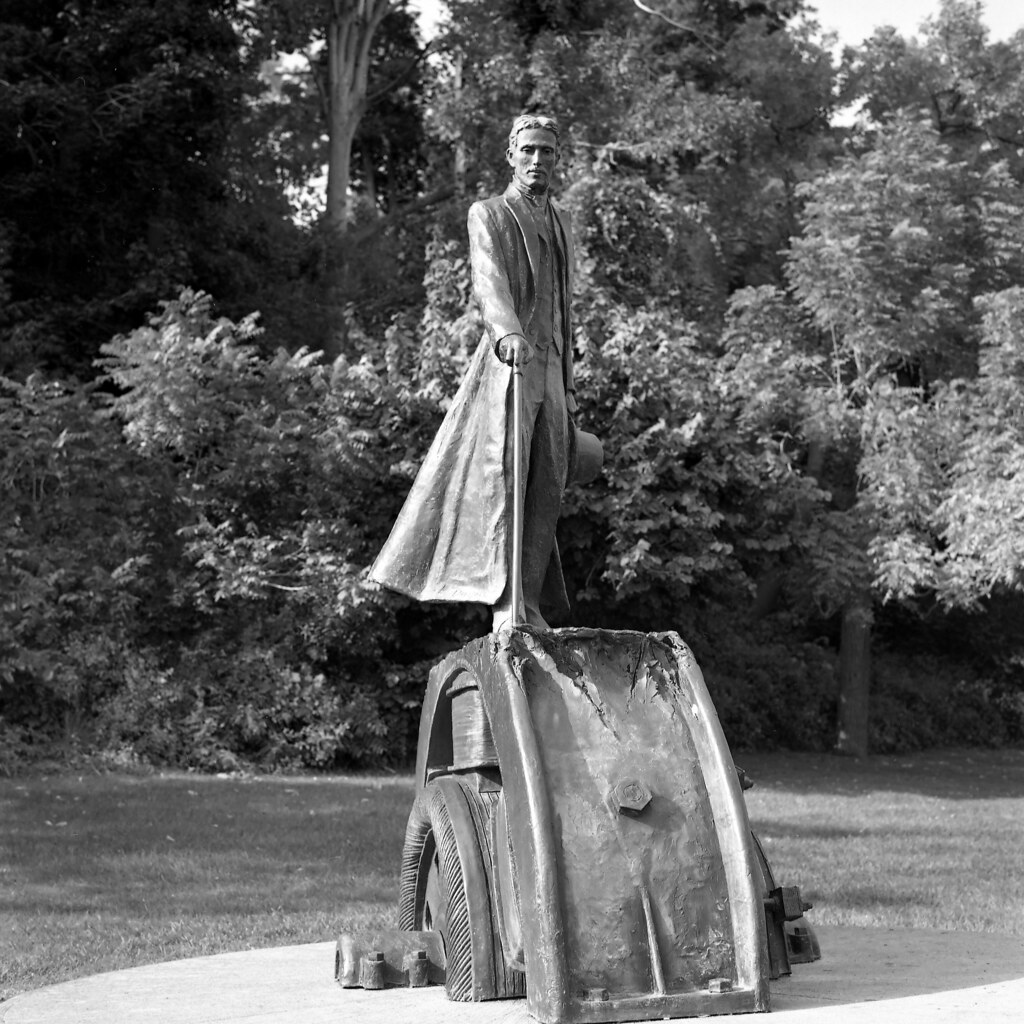
And here is a sample image from this combination of camera and Petzval lens!

Hand Tinting B&W Darkroom Prints
Hand tinting darkroom prints is a very fun and enjoyable way to make your black and white images really pop and gives you a bit more creative control. But this process takes a lot of patience and time to complete well. But in the end is well worth the effort.
What you need
- A Fibre Based print, either printing on Ilford Art 300 or Ilford Semi-Matte Warm Tone
- Photo Oils, these are the actual pigment, both Arista and Marshall have a line of oils
- PM Solution and Marlene, these are for preparing and finishing up the print
- Brushes, these can be cotton balls, spotting brushes, toothpicks with sheet cotton, and pink erasers
If you’re looking to pick up the materials needed, you can head over to Freestyle Photographic to get what you need!
Caffenol
The developer you make with instant coffee and really easy to make and modify. You can use it both to develop film and paper. Now it is a staining developer so similar to pyro style developers, but don’t let it worry you the film still looks great. And on paper it leaves an awesome sepia tone. As an added bonus it’s pretty non-toxic so if you have curious kids or pets, if they drink it, it won’t be pleasant but it won’t kill them!
The best place to start is the Caffenol-C-M, it gives fantastic results and you can get the ingredients you need at most stores in your town.
- 500mL of Water
- 50mL of Washing Soda – You can use shock for your home pool – pool supply store
- 8mL of Vitamin C powder – local health places will sell this
- 80mL of Instant Coffee – grocery store
Mix these up in the order presented using a graduated cylinder. Then just you a water stop bath and regular fixer. It’ll smell bad, but so does a lot of chemistry in developing and printing. The massive dev chart has a lot of starting points for times online or on their app. Now as for your choice of coffee, most people will say go with the cheapest coffee out there, but any coffee will work. You can check out host Alex’s blog on his experimentation with Caffenol.
Some results:
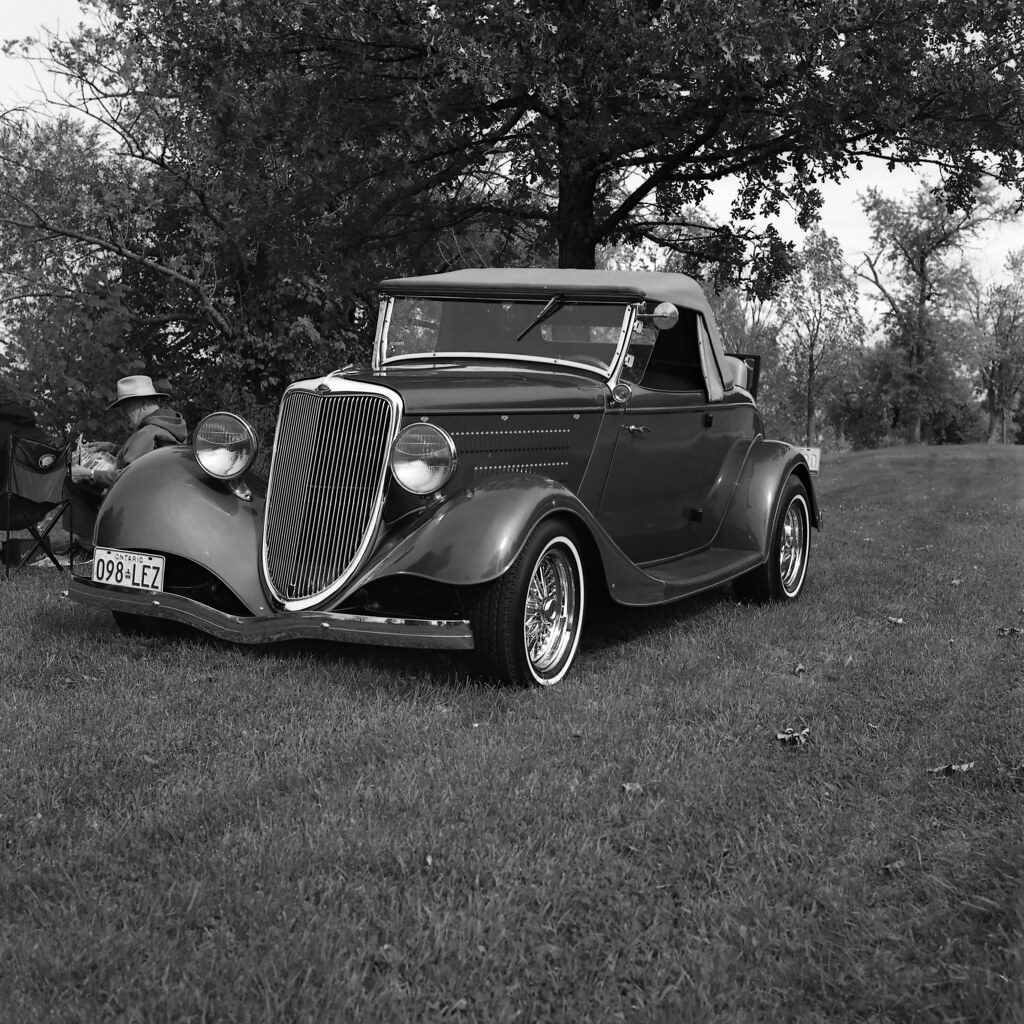
Rolleiflex 2.8F – Carl Zeiss Planar 80mm 1:2.8 (Yellow Filter) – Fuji Acros 100 – Caffenol-C-M (Folgers) 12:00 @ 20C
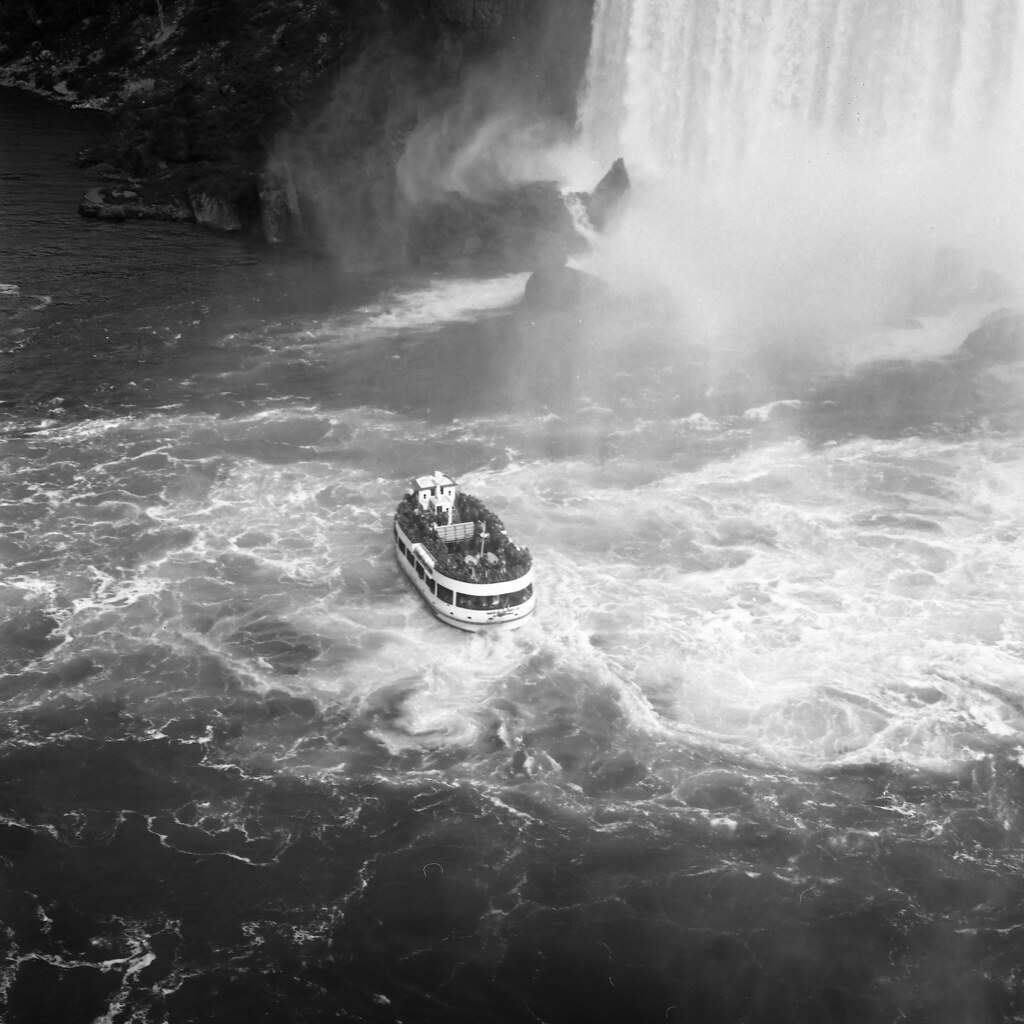
Rolleiflex 2.8F – Carl Zeiss Planar 80mm 1:2.8 (Yellow Filter) – Fuji Acros 100 – Caffenol-C-M (Nescafe) 8:30 @ 27C
Rolleiflex 2.8F – Carl Zeiss Planar 80mm 1:2.8 (Yellow Filter) – Fuji Acros 100 – Caffenol-C-M (Davidoff) 10:30 @ 24C
You can find more on this developer online at: caffenol.org, the original caffenol blog, and the cookbook!
Looking for a good spot to get your gear and material fix…check out Burlington Camera, Downtown Camera, or Film Plus if you’re in the GTA region of Ontario, if you’re on the West Coast (British Columbia) check out Beau Photo Supply. Additionally you can order online at Argentix (Quebec), the Film Photography Project or Freestyle Photographic.
Also you can connect with us through email: classiccamerarevivial[at]gmail[dot]com or by Facebook, we’re at Classic Camera Revival or even Twitter @ccamerarevival