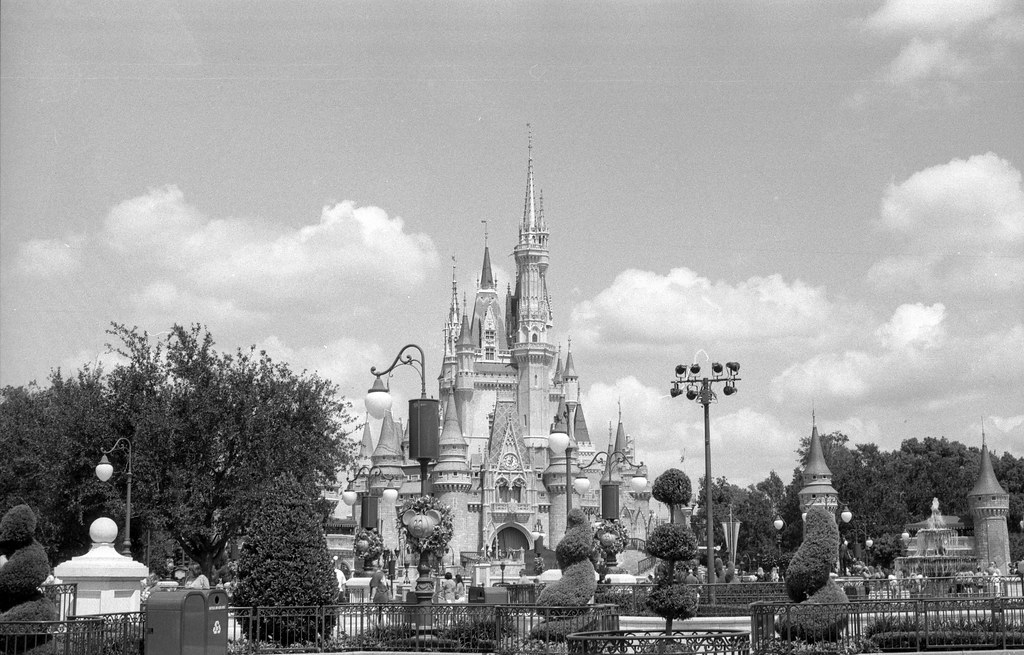
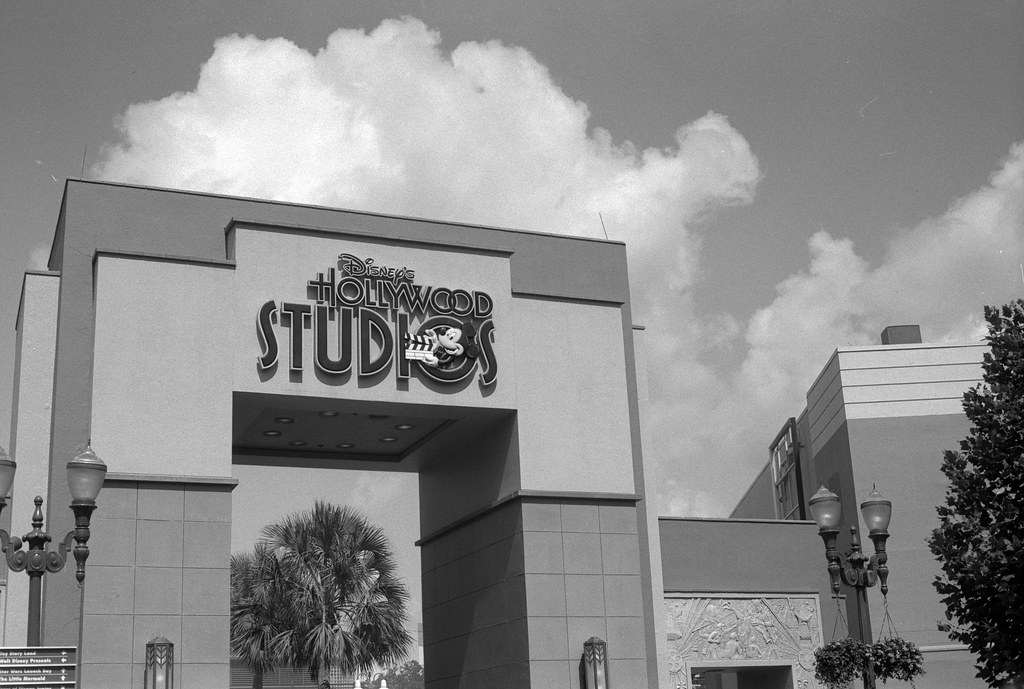
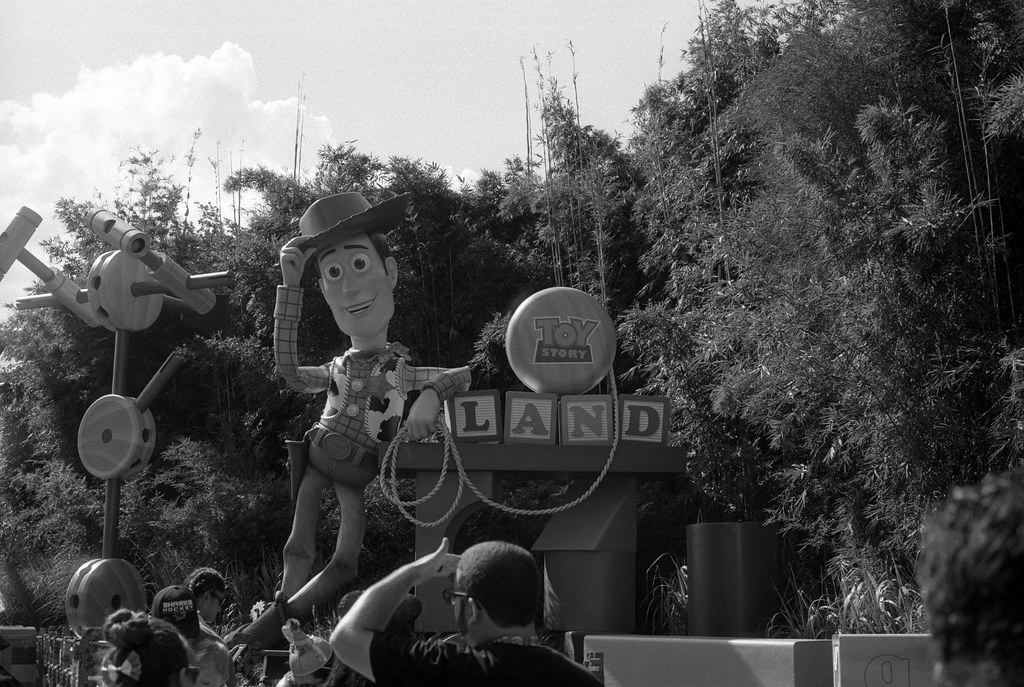
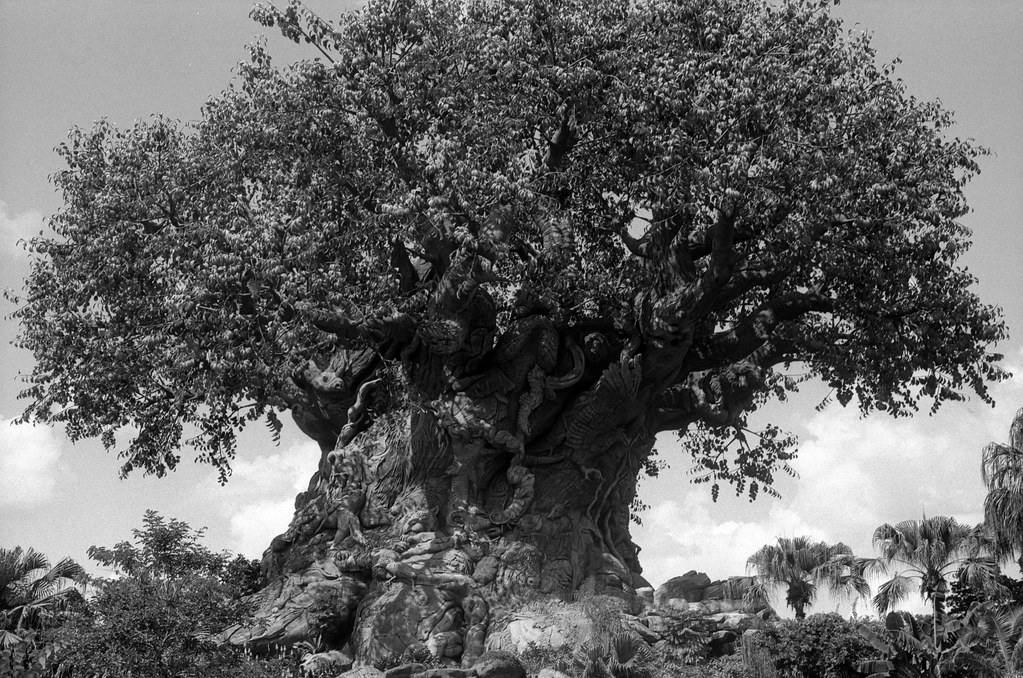
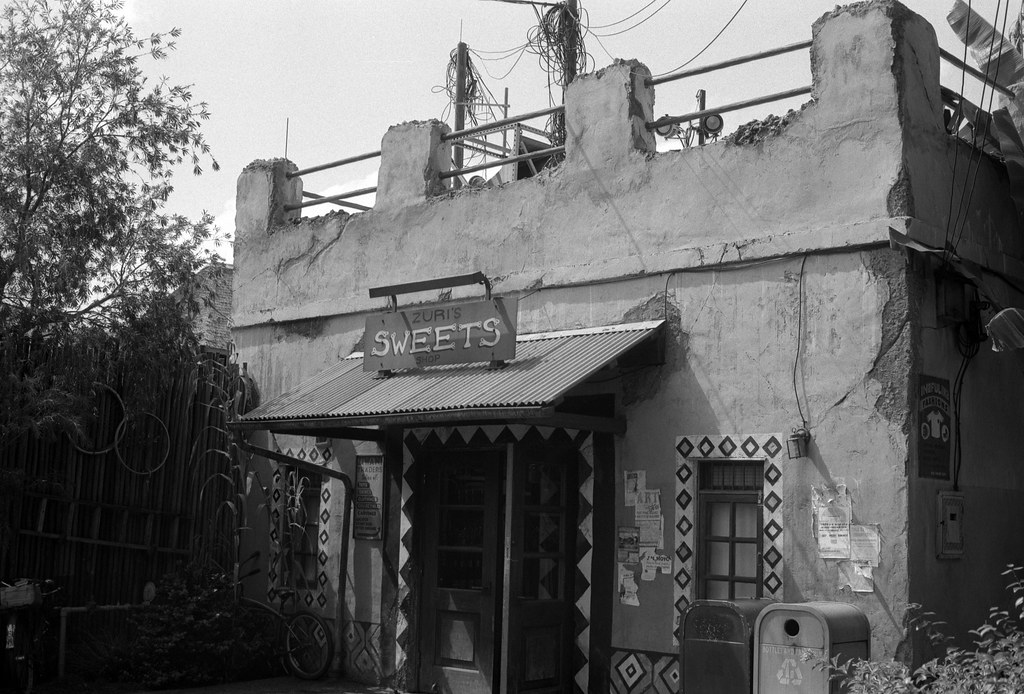
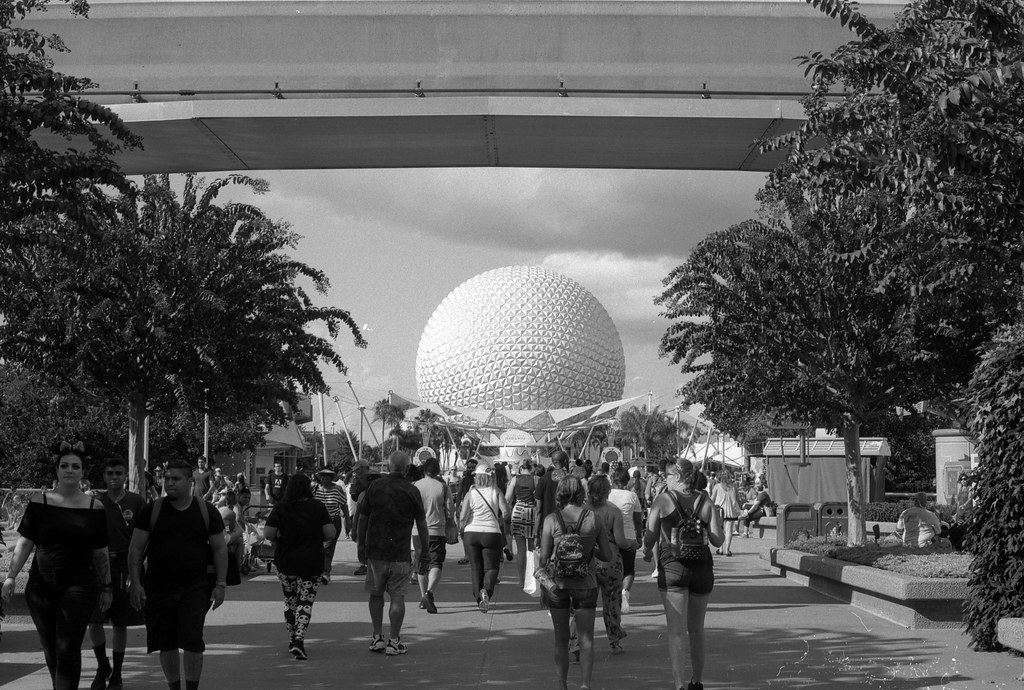
Wait, you’re probably thinking what is a Disney Travel Blog doing here since you mostly expect photography, film photography at that. Well don’t worry, there’s plenty of both some beautiful images from Walt Disney World and some handy tips from one photographer to another when travelling to Walt Disney World (or even Disneyland Park). And if you’re thinking all you can capture at Disney is family snapshots, think again. Disney is immersive, you honestly feel like you’re a world traveller especially in Epcot and Animal Kingdom. So don’t be afraid to bring your cameras, but I do suggest following a few tips that I’ll outline in this blog.

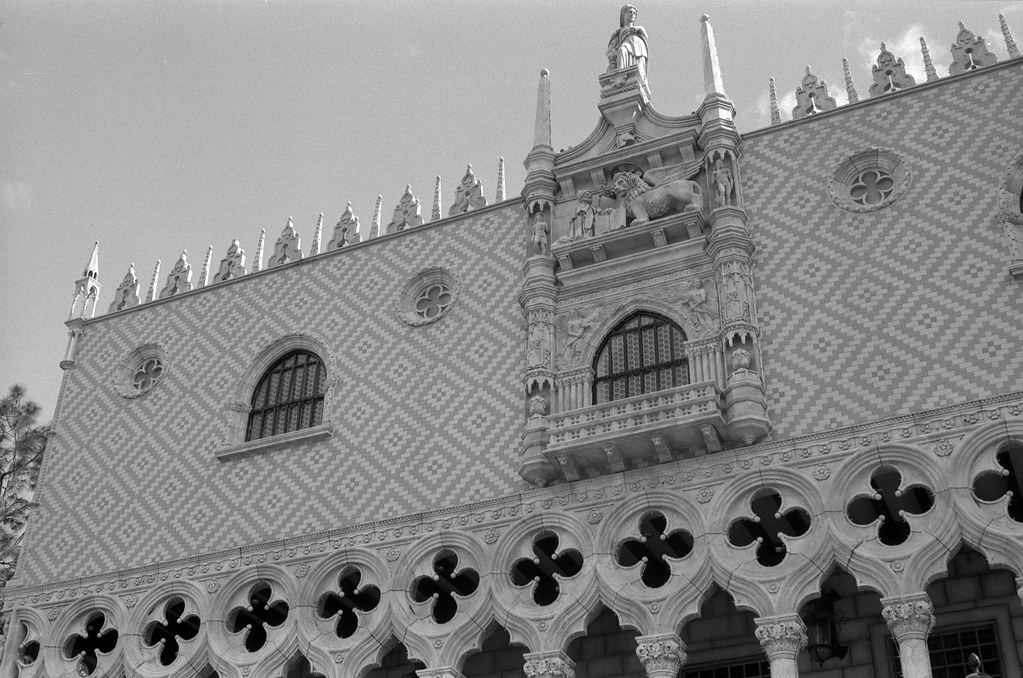
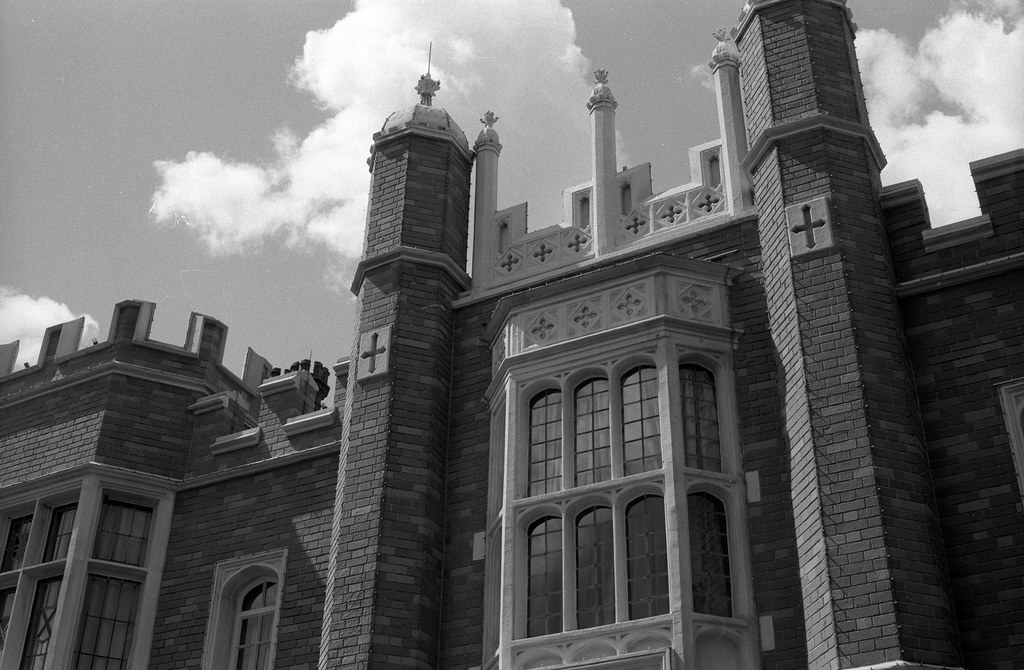
It took me some time to decide on what camera to bring on the trip to Disney, I didn’t want something took bulky or overly complex. I also wanted something with at least a semi-automatic exposure control. Well, that at least narrowed it down to a select group of systems in my toolkit. I also needed a kit that I had an adapter to mount the lenses onto my digital camera for, that again narrowed it down. While I can mount my Nikon AF glass on the a6000, it isn’t the best fit, so manual focus I decided upon, that brought me to a pair of systems, Nikon and Minolta. I settled on Minolta, specifically the XE-7. The XE-7 is a recent camera in the kit and has proven itself an excellent camera especially the Rokkor glass. So with that, I packed the 45mm f/2 and 135mm f/2.8. While not the smallest Minolta body, that would be the XG-M, the XE-7 is a fair nicer, if not larger camera, but I find it a tad bit more accurate and can take a bit more punishment than the XG-M. As for picking lenses, you want something a little wider than normal, while that 50mm is a faster lens, bring a 35mm or a 45mm it gives you a bit more especially for the grand buildings you’ll find at all the parks. As for a short telephoto, if you’re going to the Animal Kingdom, taking in a show or a parade, they do come in handy. And while I never used it on my XE-7 it saw a lot of use on the a6000 thanks to a Fotodiox adapter. And finally, you probably will want some contrast filters for your B&W films, if you can bring only one, stick to a deep yellow, it’ll help with some seperation between the clouds and the sky. It was also the one thing I forgot to bring along (I didn’t have time to get one for the 45mm lens).
Now, for media, you don’t need too much in the way of fast film, the fastest film I brought was Ilford HP5+ and that was specifically for our day in Universal Studios, for the rest of the time I rocked Kosmo Foto Mono 100, a film that is fairly special to me and I know what I can get out of it. I do recommend, bringing a mid-speed film, 100-200 on the box speed, while Pan F+ or slower would work on bright summer days, you are sometimes shooting in the shade and that extra speed will help. As for choosing film, shoot what you know, shoot what you love. If you’re doing most of your work on film, bring at least twice the amount you think you’re going to shoot. There are two ‘camera’ stores at Disney, one even says it carries film (at Epcot), but it doesn’t. Colour film, rock that same speed range, Velvia, Ektar, Portra 160, or Ektachrome would all work beautifully. Split your numbers 50/50. Bring a digital camera, trust me, your family will thank you later. As for cameras, bring something with some level of auto-exposure, that external meter will only slow you down and might annoy your partner especially if they aren’t a photographer. And if you settle on a fully manual camera be comfortable with Sunny-16. If you’re going with just two adults, manual focus is okay, but with kids, a fully automatic camera might be a handy thing, full AE and full AF. Or leave the film at home and rock straight up digital.

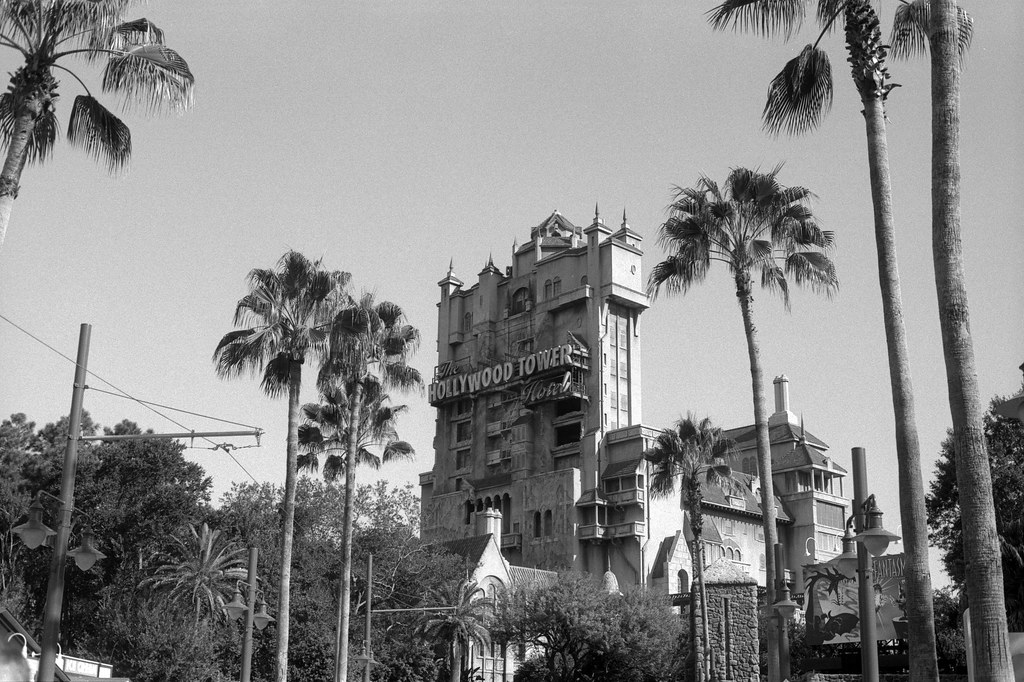
Let’s talk about camera bags, often the smaller the better. I got a Sirui MyStory Mini for my birthday specifically for this trip and other day trips. There is enough room for both the XE-7, a6000, adapter and the 135mm lens. Plus it is easily secured when you bring it on rides. It only popped open on Tower of Terror but stayed closed on Rockin’ Roller Coaster (which includes inversions). Personally stick with messenger bags, something fairly flat, and doesn’t add too much weight, even my Peak Design 15″ bag would have worked, at least for the Disney Parks, probably would have been tough getting it into lockers at Universal. As for other accessories, leave your selfie-sticks, tripods, and monopods at home. Security won’t let you bring those in past the bag checks. Use the Photopass folks or a kind stranger to get photos of the group. Bring a spare battery or batteries, lots of storage media (film + cards), and a lens cloth (indoors will be super cold while outside is super hot, condensation happens). Trust me on the battery, we had 24-hours without our luggage, which had my camera charge cable in it, but I did have that spare battery fully charged in my camera bag.
And finally the editing process. Streamline it, seriously. If you’re shooting digital, you’ll probably walk away with a lot of images, I averaged out about 100 digital images a day. And if you know me, I dislike processing digital photos, mostly because they all look the same. So streamline that editing process. I basically stuck to Lightroom, I didn’t even use my two common plugins, Alien Skin Exposure and Nik Sharpening. I picked my favourites, set a baseline edit for one shot, synchronized the lot, then moved through and adjusted what needed to be adjusted in the rest. Shooting RAW helps a lot because you can do plenty of adjustments without losing quality. When I was happy with the results, just did a batch export. With focus, I could get a couple batches done a day. Now onto the processing of the film, if you shoot and develop colour go nuts when the different film stocks, but for B&W, try and be consistent. This will help when doing home processing, you can do batches at a time, I mean I had my five rolls done in three cycles, two if I had a bigger tank. And stick to a trusted and liked processing method, like the film no need to experiment with your vacation photos. When digitizing I stuck to my usual workflow because I can edit film scans all day without getting bored. If you want to see all the Disney images (plus Universal Studios) you can check out the Collection on my Flickr account. And I hope that this helps you, fellow photographers, if and when you decide to take that Disney Vacation.
Technical Details:
Minolta XE-7 – Minolta MD Rokkor-X 45mm 1:2 – Kosmo Foto Mono 100
Kodak D-76 (1+1) 9:00 @ 20C