The market for modern production meters is saturated with many options for those looking at a simple shoe-mounted meter. Matt at Reveni Labs has taken things beyond that, first with the spot meter and now with a unique handheld incident meter. And with the market for these sorts of meters being dominated by classic equipment or the same names still producing modern meters, Reveni Labs decided to take things in a fun and ergonomic direction. The style and design are somewhat limited because of how you use an incident meter. But there is some room for modification. And yes, the new Reveni Incident Meter looks like a set of brass knuckles; this won’t knock out a person but rather the exposure.
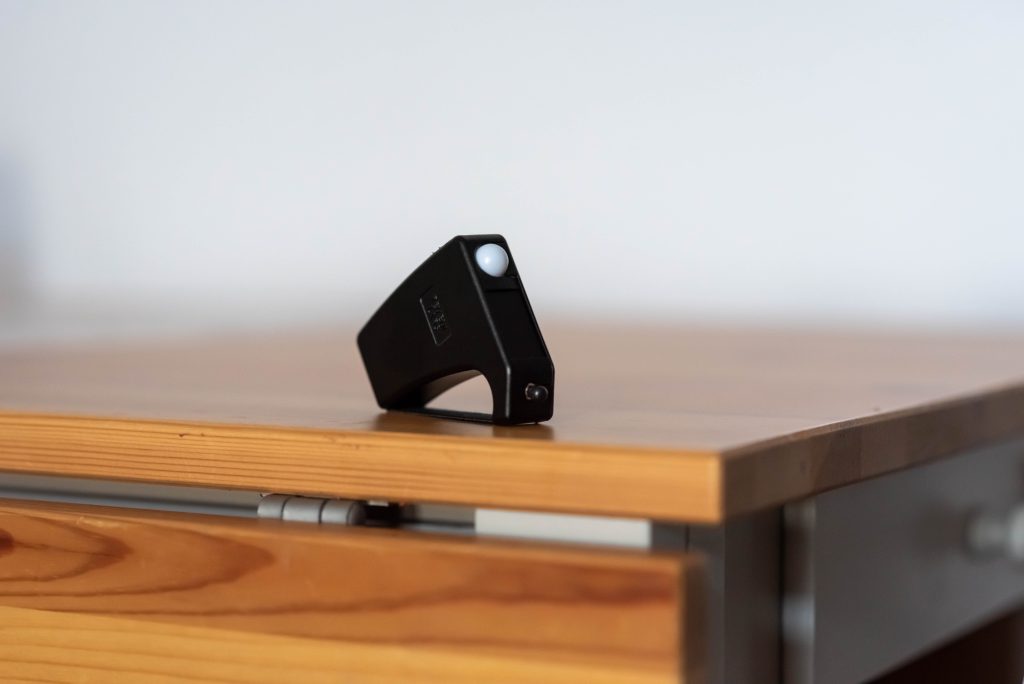
Reveni’s meters have always leaned on the availability of modern 3D printing technology and the rise of compact computers, and the new Incident Meter is no different. And while the two earlier meters have always looked rough around the edges, the new meter is undoubtedly far more refined. The edges are smooth and rounded, and you couldn’t tell that the body is 3D printed. It’s clean and certainly unique. It doesn’t look like any other meter I’ve seen in my photographic journey. The strange shape is centred around how you hold the meter; rather than keeping the whole thing in your hand, you slide it over two or three fingers (four if you have small hands), and the main body of the meter sits on the outside of your hand, leaving it free to be used to hold a camera without needing to drop the meter. But keeps the meter always ready to use. Control is done with your thumb and a four-way ‘joystick’ style controller, and the screen is right above that and easily read when the meter is being used. It has two metering sensors; one on top is your incident meter, then a secondary unit on the front of the unit for regular reflective metering. If you have never used an incident meter before, it is mainly used for portrait work by reading the light falling on the subject, placing the meter on or in front of the subject, and pointing towards the camera. While a reflective meter reads the light bouncing off the subject towards the camera.


The metering functions are similar to that of other classic meters. You have a similar EV range as your standard camera meter or a classic handheld unit. Power comes from two AAA batteries, providing a long battery life (which has always been a chief complaint for the other two Reveni Meters and why the Spotmeter now has an AAA battery housing attachment). But the meter can do much more than others; it provides a colour temperature reading (useful for even digital users), and there is a 3.5mm phone jack to connect to strobes directly or via a radio trigger. You get aperture ranges from f/0.7 to f/1024, film speeds from ASA-1 to ASA-12800, and shutter speeds from 1hr to 1/8000s. Metering modes can take standard exposures in aperture or shutter priority; there are flash power readings, flash delay setup, and even some cine modes. Matt has managed to cram a lot of useful features into this small package that even outstrips what you can do with the spot meter. It is helpful for filmmakers, portrait, landscape, and general-purpose meetings in the field and studio.


I was unsure about using the incident meter when I first saw it; the simple controls and no apparent natural means of powering on the meter. Of course, I needed to read the manual first. Controls are based around the joystick, with each direction (up, down, left, right (and no cheat codes here)), having two singles and a short and long press. The manual has these in a nice cheat chart showing what each direction does for each click length. Once I had this memorised, it was easy from there. Of course, you don’t have to memorise everything, but knowing how to navigate the meter and the most common settings you need is good enough. By default, the meter comes out of the box in incident mode; of course, I didn’t know this then and happily shot the entire first roll that way. Which in some cases is okay. Except in my case, it was the sun being directly behind me and the meter taking the reading off the light reflecting off me and my shadow. Oops, the entire roll ended up being overexposed (thankfully, I was able to recover some images). But once I fixed the mistake, the meter gave me a good reading. I compared it to my Nikon D750 (Centred Weighted Mode) and a Gossen Lunasix F; the results were close (less than a third of a stop). It fits nicely over three fingers on my hand and isn’t too tight, either. But it will stay tight enough to feel like it will slip off. And the build is relatively robust; I even dropped the meter once, and it didn’t crack the body. The one trouble is that it is hard to aim the tiny front sensor, so I often had to double-check to ensure I had it pointed at the right subject. Having the meter directly on your hand is helpful for both medium format cameras like my m645 with a waist-level finder and most beneficial with shooting a Leica M4-P. It was easy to transition from metering to get the camera up and ready; there was no need to drop the meter and then grab it. I found this a better metering solution than a shoe-mounted meter.


Overall the Reveni Incident meter is a solid addition to their metering products. Clean design, well suited for multiple applications and well made. Besides being the best-looking meter from the lab, the amount of features crammed into the thing is second to none. If you shoot a lot of studio and portrait work and use strobes or off-camera flash, the meter makes sense as an affordable option. But even if that isn’t your jam and you want something compact, simple and powerful, this meter will fit the bill also. Each meter is hand-assembled in Canada, has a price tag of 250 (CAD), and is available directly from Reveni Labs. The Reveni Incident Meter will be a good meter of choice when I need something powerful, compact, and easy to use while on trips or working with a meterless camera.