One of the most rewarding and frustrating parts of working with traditional film mediums is developing the film yourself. This often allows for faster turnaround and greater control. However, when things go sideways, you can only blame yourself. I started developing black & white film myself over ten years ago now for two reasons. First, I was inspired after attending my first Photostock event, where I saw all the fantastic work people were doing and had the opportunity to chat with my good friend Matt Marrash. Second, my local lab had reduced its processing to a single day of C-41. The owner (Joan) took me aside and said that I could do it myself and showed me the basement filled with tanks, reels, and chemistry. In those ten years, my process and methods have changed, but I figured that if there was someone out there looking to get into this themselves, they might be seeking a bit of help on where to start. However, to give credit where it is due, this post was also inspired by fellow film photographer Johnny Martyr, who published his process for processing last year. Now, I don’t shoot nearly as much film as he does, but he also shoots film professionally. If you’re a high-volume shooter, consider checking out Johnny’s post. But now, onto the good stuff.

I don’t have as much time today as I did in the past to dedicate to film processing. Often, I have a few hours in the evening to get through the rolls that I do have, so I try to make the most of it. I usually will do 3-4 cycles in a night in those couple of hours, and that could range from 4-6 rolls of film, depending on what I had shot. Often, these cycles in higher volume times like the Spring, Summer and early Fall will happen once a week, but more often, it’s once every couple of weeks. Typically, on a Sunday night, I’m processing. There are rare occasions when I can do this during a weekday and during the day, if I have a free day. So, pre-planning is key to each cycle; I want to be able to maximise the number of rolls that I can develop, and that often means doubling or tripling the rolls that I plan on using. When it comes to developing tanks, I have a pair of Paterson tanks and more than enough reels. My small tank can fit a single roll of 120 film or two rolls of 35mm film. I have a larger tank that fits two rolls of 120 and three of 35mm. Additionally, for sheet films, I have a Stearman Press SP-445 that can process four sheets of 4×5 film. In most cases, I’m left with having to run through three cycles, each with a different chemical simply out of necessity. I write a lot of reviews for cameras, films, and developers. I do my best to double up, so if I’m reviewing a developer, I’ll shoot a second roll of film for that cycle or a camera review or film review. Another option is to shoot two of the same film stock for two different camera reviews. I did that with my Miranda Sensorex and Pentax MX reviews. It does take a bit of variety out in some ways but adds it in for another. It requires a lot of pre-visualisation, planning and luck. Mostly because I may not be able to get around to shooting the roll or the weather doesn’t cooperate. Then, it’s a matter of spreading out the shooting so that I have the necessary number of rolls to conduct a developing session. A lot of notes and a lot of planning.
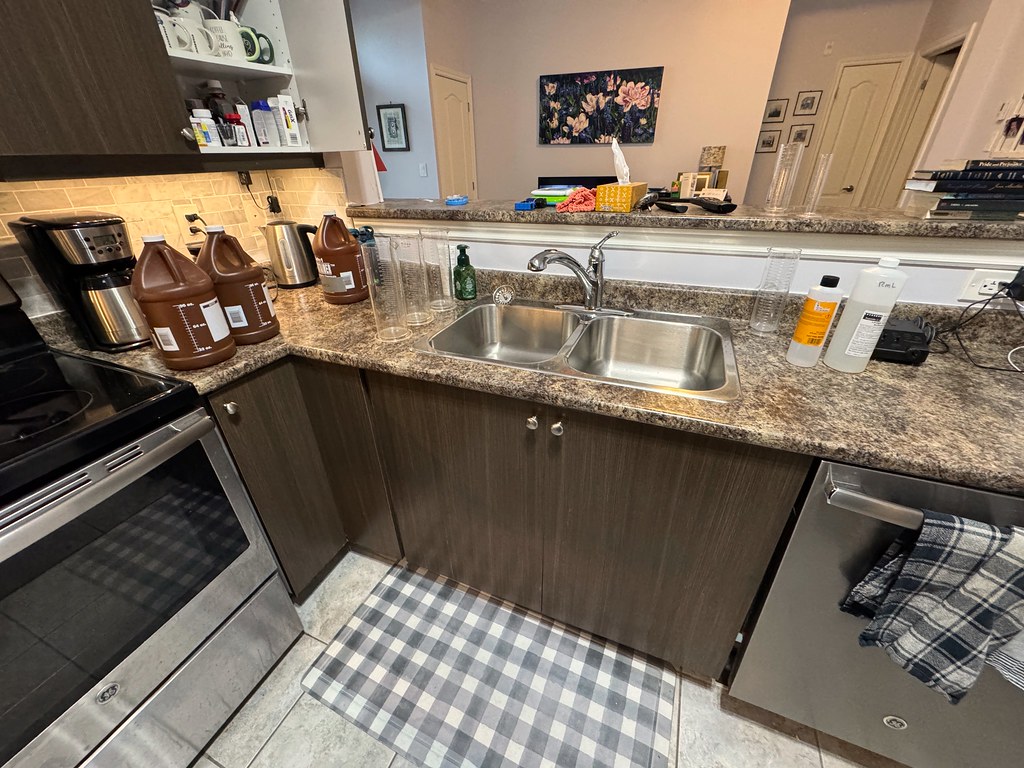
Once I have the required number of rolls ready for the process, it’s time to play with a little bit of chemistry. Before I even get the film into the tank, I pull out all the gear I’m going to need for the session. I also do a careful job of wiping down the counters where I’m going to be working. I grab all the developers I’ll need along with the stop bath and fixer. My current choice for a stop bath is the Kodak Indicator Stop Bath. I’ll use a working solution of stop bath until it starts to fade from that deep orange colour to a more pale yellow before going purple. I don’t always let it go that far, but it has done that before. For the fixer, I’m working with Kodak Rapid Fixer, as it’s a reusable solution (I mix the one-gallon kit). I’ll always use a secondary chemical called Hypo Check to ensure that my fixer is still good. If it isn’t, I’ll have to mix up some new stuff and delay the cycle. I’ve only had this happen to me a couple of times before I started checking. Then I mixed up my clearing agent; I’m currently working with Argentix Wash Aid, which is rebranded Clayton Archival Wash, which allows me to drastically cut down washing time. I also pour out the appropriate amount of photoflood for the final step; I use about 1mL per tank. Then it’s a matter of sorting out the films; I tend to do the longest processing time films first, so I feel I’ve moved over that big hump. And always group films into single development. For example, if I’m processing four rolls, two are being done in HC-110, and those two will be done back to back. But I also never do parallel processing; that would mess me up.


After loading the tank, I let the film wash for a bit by filling the tank with warm water and letting it sit while I mix up the developer and pour out the fixer. I’ve always done a pre-wash on my film since I started developing at home. mostly because I find that the film does better and takes the chemistry easier. The only time I don’t pre-wash the film is if I’m using Diafine. When it comes to choosing developers, I tend to look at the subject matter, the conditions I’m working in, the film stock itself, and how I exposed the film. Overall, I have a lot of choices in my kit, but I do keep a few standard developers. These include Kodak D-76, Kodak HC-110, and Rodinal or their equivalent, such as Ilfotec HC or Ilford ID-11. Then, I have a rotating tap of other developers. Things like Rollei Supergrain, Adox FX-39 II, 510-Pyro, Diafine, and others. For most of my development, I use a rotating base, the B’s Processor, which I find helps maintain better consistency without too much loss of sharpness. For times under 10 minutes, I’ll use the pulsed mode, but for times over 10 minutes, I’ll switch to slow constant rotation and reduce the listed times by 10%, which delivers results that I find satisfactory. It also keeps things a little hands-free. Once development is done, I’ll run the stop bath at the fast rotation for one minute. If the developer calls for it, I’ll use water as a stop bath; however, for most of my work, I’ll stick to the acid. For fixing, I’ll always run it at a constant slow rotation for consistency, and that’s around 5-6 minutes, depending on the film stock. Once the main steps are done, it’s onto the washing. I always make sure to wash my films after processing. I let the film run under water for one minute, then soak it for one minute in the archival wash before rinsing it under running water for another minute. This not only reduces the amount of running water I’m using, but it also does as good a job as other methods. Then I fill the tank, add the photoflo and give it five hand inversions. Then, I wipe off any excess before hanging the film to dry. I use metal pants hangers with rubberised clips and binder clips on the bottom, letting the film dry for at least 24 hours. Finally, I make sure all the chemistry is put away, the tank and cylinders are washed and dried and put away also. Then I clean the work surface again with proper cleaner and hot water.


Once the film has dried, it’s ready for scanning. Most of my work involves digitising my work for display online. I do some printing, but not a lot, mostly because I’m working with an audience that consumes most of my work online. After letting the film dry, I’ll take it down, roll it up and move it to the desk for scanning. One of the biggest problems I face is cupping. To help with that, I’ll back-roll it and make it as tight as possible before using a cloth peg and letting it sit for another twenty-four hours. This is only an issue in the colder months and affects only certain film stocks. I mostly encounter it with Kodak films (Tri-X, Double-X, TMax 100, and TMax 400), but I don’t shoot those often, so it isn’t too much of an issue. For scanning, I’ll use a paper slide cutter to split the negatives into smaller strips, with five frames per strip for 35mm and either four or three frames for 120. The reason is twofold. The first issue is that my scanner holder can only support a maximum of six frames per strip of 35mm film, but the second issue is that my Printfile sleeves are set to accommodate only five frames. I did use the six-frame ones in the past, but I never liked it. So I’ll often shoot the 36-exposure rolls to 35, and the 24-exposure rolls to 25 (when possible). Each sleeve is then marked with the date, the subject, camera, lens, and film details. I don’t bother with developers. Then, the sleeves are stored in binders by year and sorted by date. I also make sure to note everything in my film log, which is an Excel sheet I’ve been using since 2002. It records the date, subject, camera, lens, film, exposure, filters, developer, and location. It means that I know where all my negatives are at any given time, plus it can be searched and sorted. Which makes it helpful to make educated guesses for development times when I don’t have any. Scanning is performed using an Epson V700 with Silverfast 9 software, and the image is saved as a TIFF file at 2400 dpi2400 dpi. The files are saved to an external device and organised into a main folder by year, then into subfolders by date. Film and Digital files exist in the same space. Each file is named by subject, camera, film, and a unique number. If I’ve shot multiple rolls, I’ll add a number at the start. So, a typical file might be Toronto – Nikon f5 – kodak tri-x400_001.tif, but if I’d multiple rolls, you’d see 01.Toronto – Nikon F5 – Kodak Tri-X 400_001.tif and 02.Toronto – Nikon F65 – Ilford HP5+_023.tif. I’ll always keep the unique number running and not reset the count for each roll. Once done, I’ll update the properties and manually add in the date taken, camera, and lens information. Editing is done in Adobe Photoshop CC with a light touch. I’ll often adjust brightness and levels and add a bit of sharpening before saving it as a JPG for online upload. The final step is backups; my JPG files are backed up online in the cloud. It’s not perfect, but it’s something. Then, at the start of each month, I’ll back up that month’s work to a second external drive, which is stored in a firebox at home. And finally, each year, I’ll back up that backup to an off-site external drive.


Like any system, it has taken me a while to refine and build it to a point where I can be efficient with my work and produce consistent negatives and images each time I enter the process. And trust me, I do a lot of system design and analysis in my day job (in fact, Systems Analyst is on my college diploma). It has also undergone significant changes since I first started. I’ve improved my temperature control, and adding the motorised base has also helped make my life a lot easier. I’ve also improved my scanning and backup process. I recently came across my original backup drive (which I promptly backed up to an SSD external drive), and my filing system was all over the place at the start, which made it hard to figure out things. One thing that has helped me is that I’ve been doing it for over ten years now, learning as I went along and tracking everything so that I can always pinpoint a problem and come up with a solution or find a solution to a problem. And while this system works for me, it might not work for everyone. However, suppose you’re considering streamlining or improving your home development. In that case, it might be worthwhile to take some time to sit down and map out the process. You can draw inspiration from my system or Johnny’s system and tweak it to make it yours. As I mentioned at the outset, home development is both rewarding and frustrating; it only takes time to make the reward worthwhile in the face of the frustration.
I always enjoy reading about others’ methods in dev/scan; I always learn something. Thanks!
Every time I visit your blog, I learn something, Alex.
Cheers