Respooling and shooting motion picture films have been around for several years now. The Vision3 line of the film presents a somewhat affordable way to shoot colour film since it is far more readily available than dedicated still photography film. But most people have been developing this film in C-41 chemistry. Now there’s nothing wrong with that, my first experiences with motion picture film developed in C-41 at home. And CineStill strips away the remjet layer specifically to allow motion picture film to be developed in C-41 lab machines. But technically, processing motion picture films, specifically Kodak Vision3 films, in C-41 chemistry is cross-processing. Kodak has a dedicated developing kit for motion picture film, Eastman Colour Negative Rev.2 or ECN-2 processing. And recently, some home versions of the kit have been hitting the market. Last year I got one of these kits from the Film Photography Project to try and review, along with a few rolls of Vision3 films. It also allowed me to work through several rolls of Vision3 film hanging around and do some Cross-Processing of regular C-41 and some E-6 film in the kit. Thanks to Mike Rasso and the FPP for this kit and film!
Technical Details
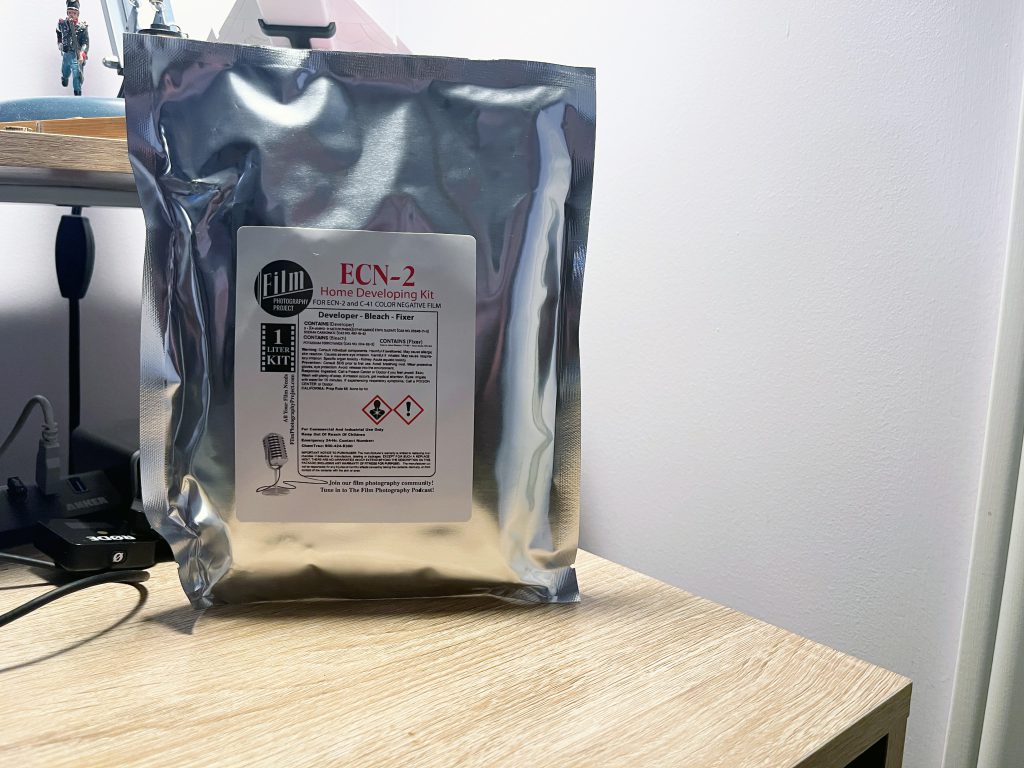
Manufacturer: Film Photography Project
Name: ECN-2 Super Colour Negative Kit
Primary Developer: CD-3
Type: Reusable
Mix From: Powder


Handling
If you’re familiar with mixing chemistry from powder, then mixing up the home ECN-2 kit will be easy. The FPP kit comes in three pouches: developer, bleach and fixer. Each will make 1L of stock chemistry. Splitting up the bleach and fixer offers creative control over the image’s final look. Mixing instructions are included in the kit, although if you have an early version of the kit, there is a typo indicating that there are five pouches of powder to create the developer solution; if you have a later version, then this has been corrected to only a single pouch of powder to make the developer. Fill up a mixing cylinder with 800mL of water at 41°C (106°F), add the powder, and mix until dissolved while adding additional water to make up 1L. The entire process of developing your film is also done at 41°C (106°F), with about a +/- 1° latitude for optimal results. All times are universal when shooting the film at box speed and developing normally. And the FPP has been good at including the adjustments for push processing. For one-stop, increase your development time to 4:40 and two-stops 5:25. But motion picture films have wide latitude, so normal development can often handle a +/- two-stop range for most colour negative and motion picture films. All colour motion picture films come with a remjet backing; this black carbon coating protects the film from scratching while running through film cameras at twenty-four frames per second. When starting development, it’s best to get the film and chemistry up to temperature using a water pre-bath at 41°C (106°F); this can be done using a sous-vide heater and a water bath. If you’re cross-processing film or film that has the remjet removed, it’s best to pre-wash first. But if you’re using stock motion picture films, clearing off the remjet acts as the pre-bath. While there are two schools of thought on this, I find it best to remove the remjet before developing it as it will keep the amount of particulate to a minimum. Using one tablespoon of regular baking soda, mix with 1L of water at 41°C (106°F), pour the mixture into the tank, agitate it five times, and then dump. You will get a black mix that reminds me of what came out of my musket after an event. Fill, agitate and dump two more times. Once done, you can start with your development, initial constant agitation of thirty seconds, then three gentle inversions every following thirty seconds. The one thing I noted is that the developer does generate a lot of gas, so after the initial agitation, make sure to ‘burp’ your tank. Pour the developer back into the cylinder, then rinse the film (three 30-second cycles) to ensure the development has stopped and the chemistry is cleared off the film surface. Then run the bleach step for the same time (three minutes) using the same pattern. After the bleach is done, rinse the film again using three 30-second cycles to ensure the bleach is cleared from the film surface. Then run the film through the fixer; this stage uses the same agitation pattern as before for five minutes. Once done, rinse the film for five minutes before drying it. There may be leftover streaks of remjet on the film; I used a damp microfiber cloth to clear this off; alternatively, you could use your fingers with powderless nitrile gloves. I noticed this, especially with my one cross-processed roll. You will notice that the film will look pretty terrible when you first pull it out from the tank. But twelve hours later, things looked far better. The kit has enough power to run twenty rolls of film through, in either 120 or 35mm or an equivalent number of sheets of film. It has a long powder-form shelf life when contained in sealed foil packages. Once mixed, the shelf life is a couple of months in a cool dark place in brown bottles.


Qualities
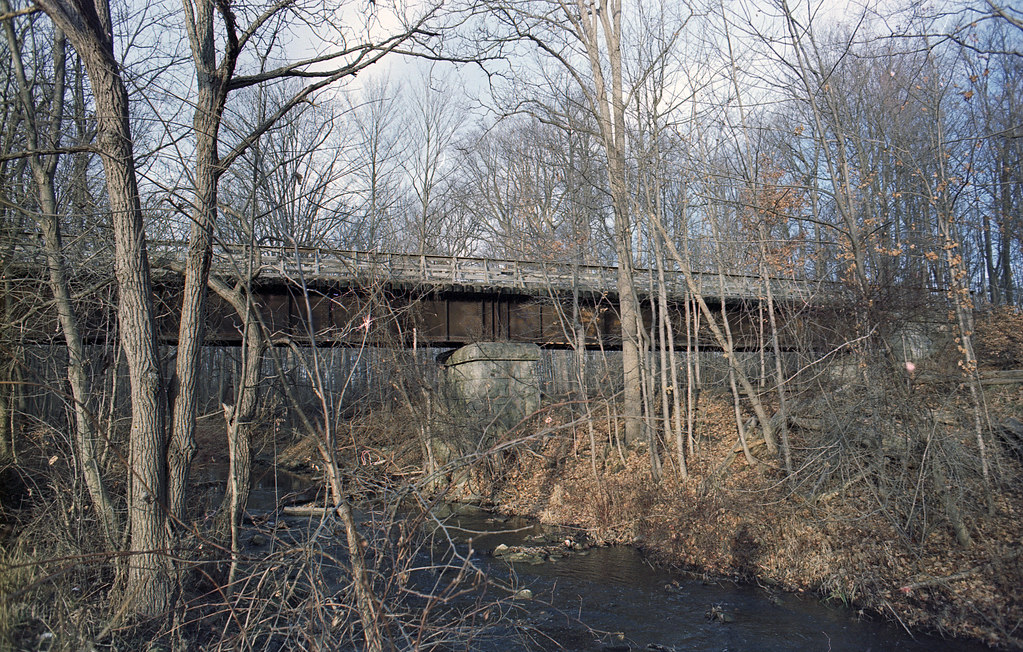
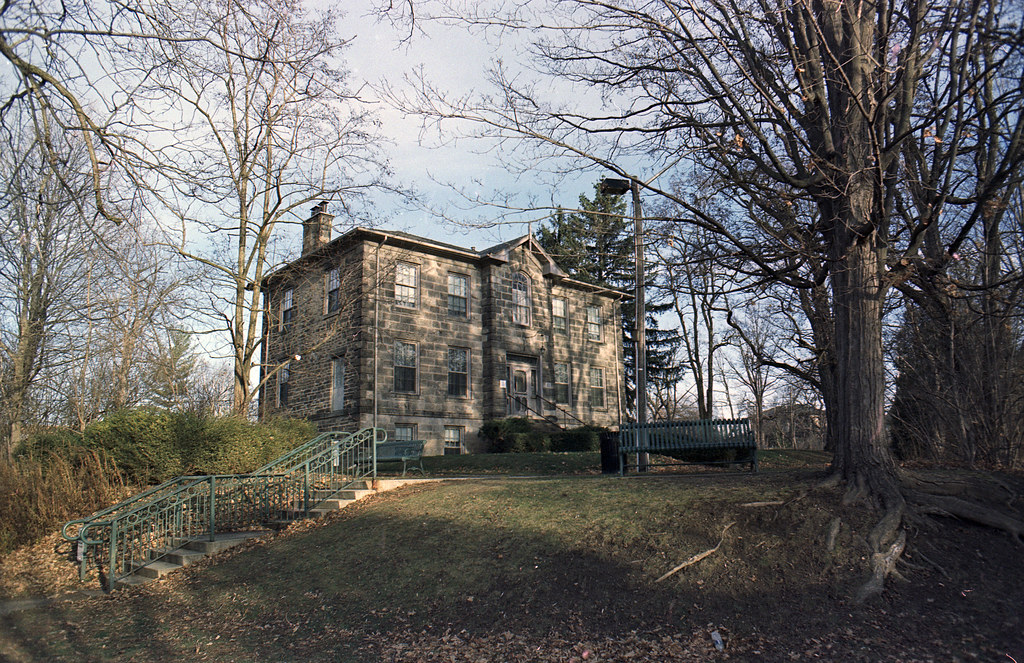
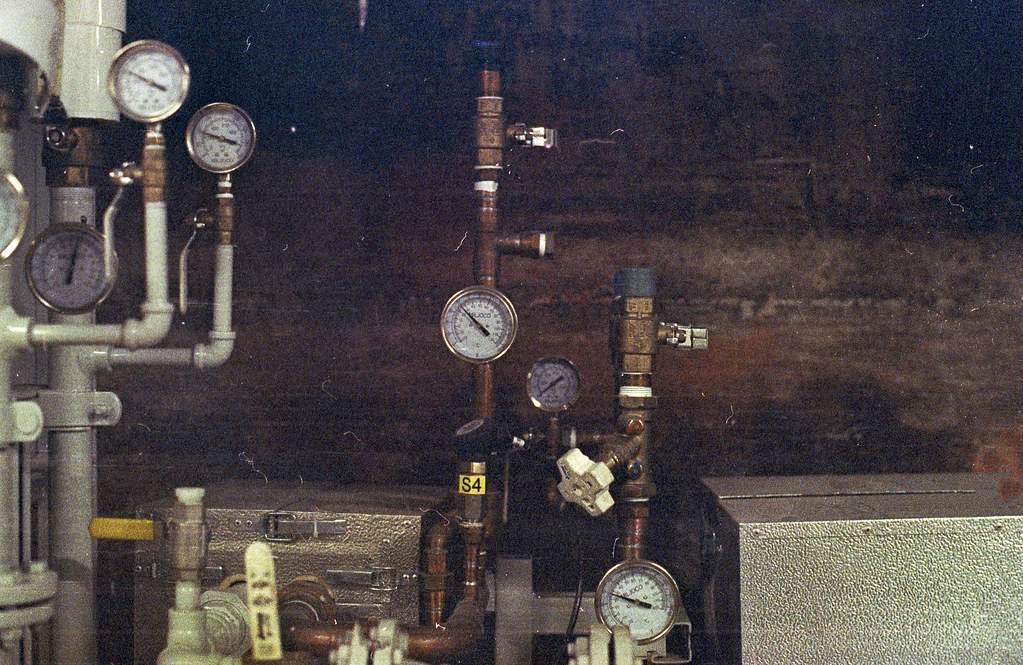
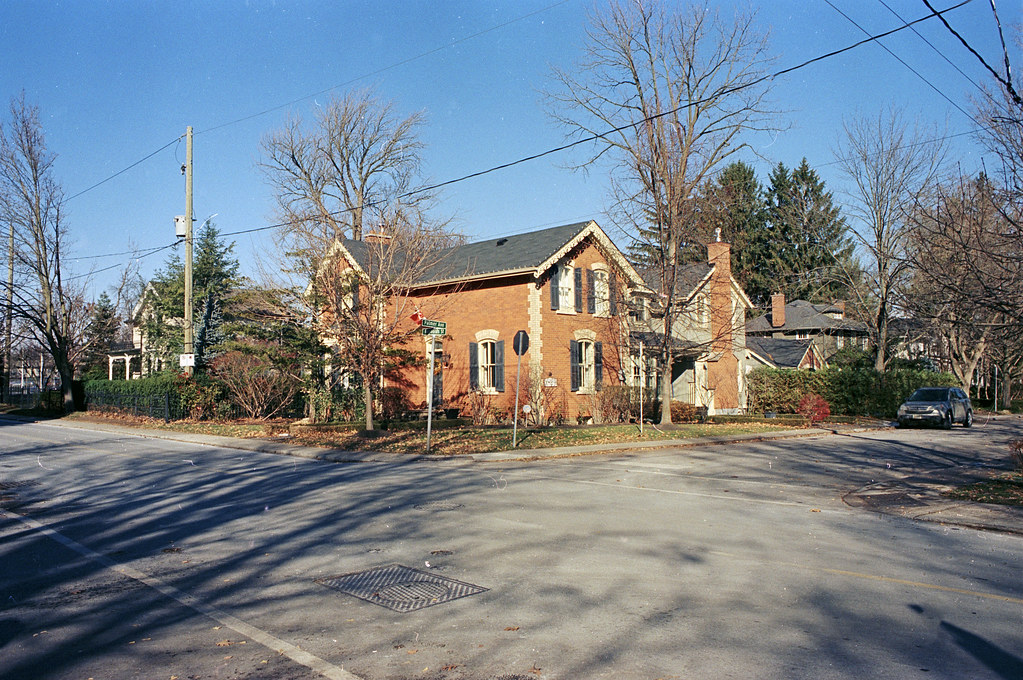
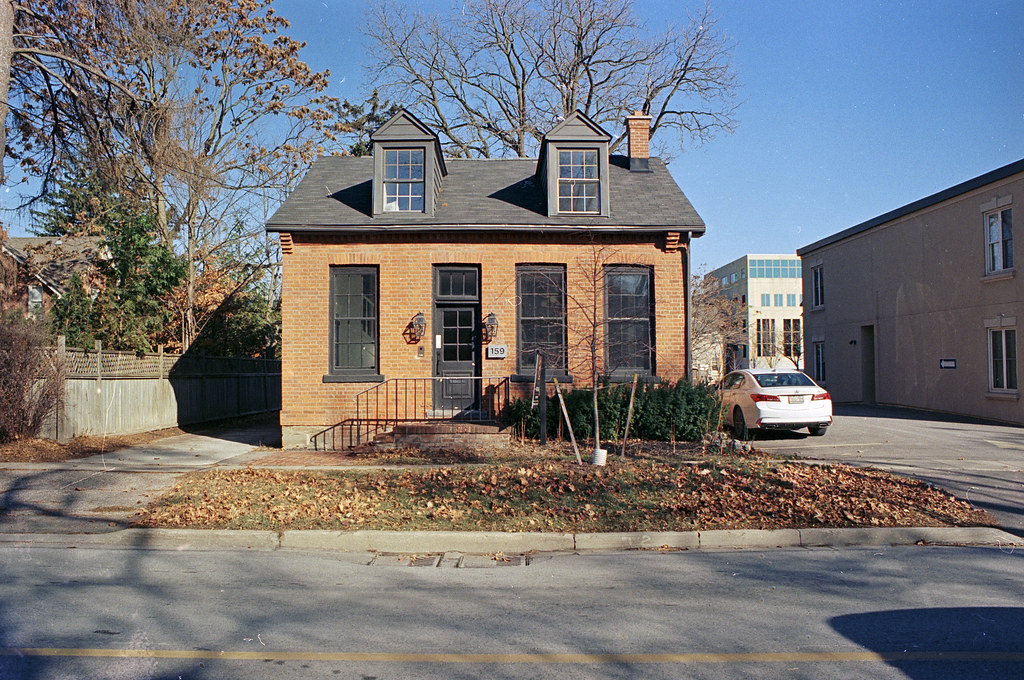
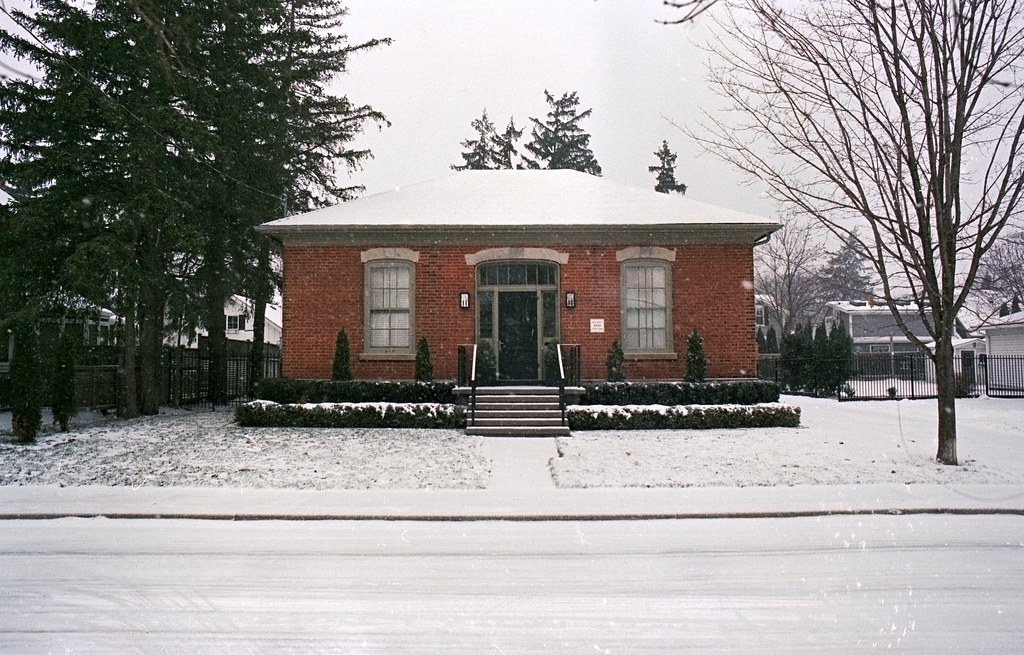
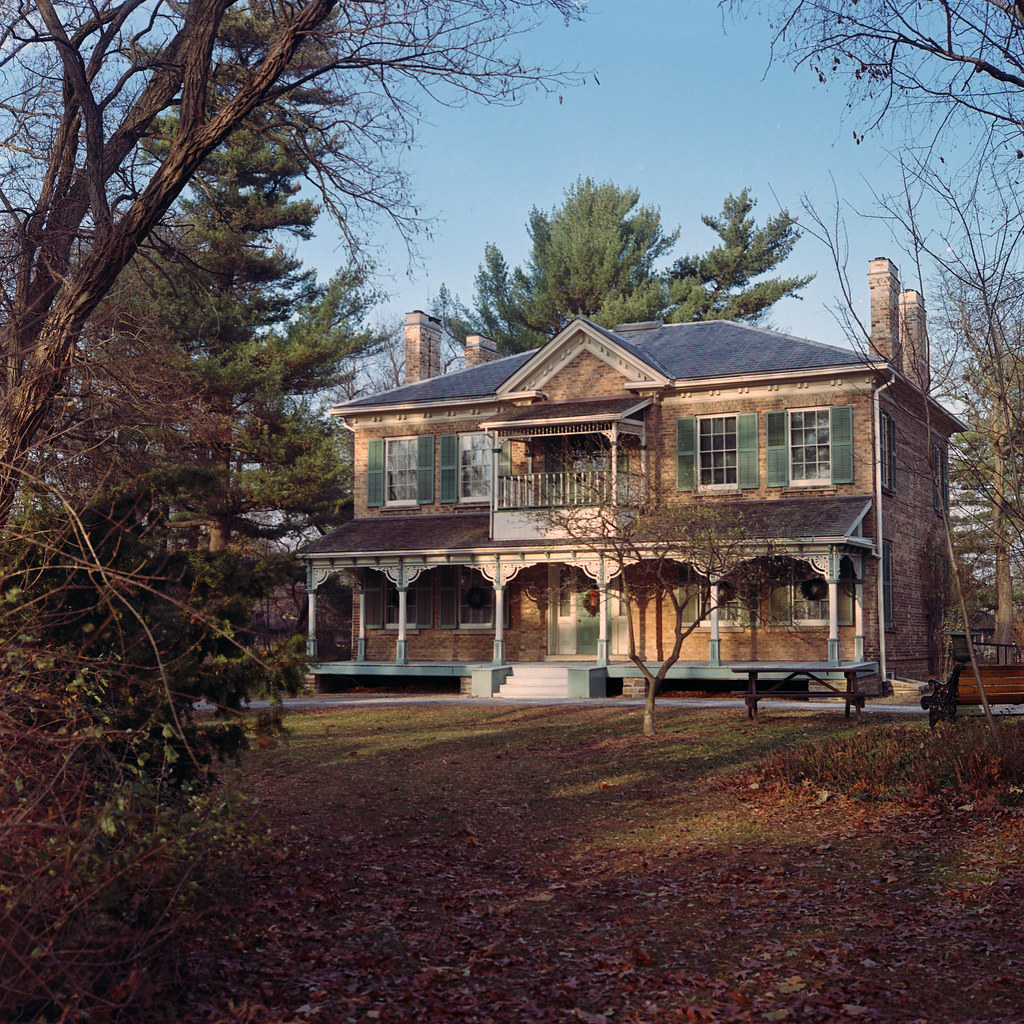
Like any developer, the quality of the images depends on the film stock you have developed. And I made a point to develop native motion picture films, cross-process regular C-41 films, and even a roll of slide film. Of course, Vision3 and similar motion picture films (Fujifilm ETERNA) looked terrific in the ECN-2 chemistry, despite it being a home kit rather than a proper lab-based process. The colours produced were amazing, and the ability to adjust as needed was perfect. And I threw a lot of different conditions at these films, from bright sunlight to snow storms and plenty of artificial light. And the colours, especially those of the daylight films, were bright, clean and vibrant. Even the ETRNA, a tungsten film, works much better than I expect in daylight conditions. Not to mention excellent grain structure, edge sharpness and contrast control. What surprised me the most was how well this kit handled cross-processing. There is very little difference between the results I got with C-41 films when processed through a lab versus what I ended up with. The results ended up with low contrast but plenty of control over how much I could control the contrast and colour balance. The scans did lean more towards the cooler end (blues and cyans), but you can easily adjust this in post-processing. The real fun comes when you cross-process colour reversal (slide) film. You had a green-leaning scan but a dull, almost antique look. Now you end up with a negative rather than a positive, so adjust your scanning software appropriately. But if you don’t like that green cast, you can change this in post-processing. While I did not explore the world of bleach bypass with this kit, it is possible as the FPP separated the bleach and fixer, something the average colour negative or colour reversal kit combines into blix. You can skip the bleaching process or only run a short bleach step. This will retain silver along with the colour dyes in the emulsion. The result is a black-and-white image over a colour image. Used in the context of motion pictures, it was seen in the film Her Brother (1960) after Kazuo Miyagawa was inspired by the colour rendition of the original release of Moby Dick (1956). This results in high contrast, washed-out grainy image, perfect for a post-apocalyptic look and feel. Something I could have used when exploring a former college campus in Knoxville.

Applications
The number one application for this kit is for those who shoot large quantities of motion picture films, both in stock form or with the remjet removed. This provides as near-to-native development for your films like Kodak Vision3 and Fujifilm Eternia line as possible within a home environment. Remember, Eastman Color Negative Process V.2 is designed for use within a professional lab environment where machines, temperatures, and times are calibrated within strict tolerances. While these are harder to control within a home-developing climate, they offer a close enough experience. And if you have any home development experience, this will be much easier than black & white. This will be familiar if you’ve done E-6 or C-41 at home. And an ECN-2 kit will offer up some exciting bonuses. First, being able to skip the bleach step, known as bleach bypass, is a unique look that I will discuss in the previous paragraph. While I chose to run everything through the standard three-step process, you might want to experiment with this in your film. But in a home environment, you can also cross-process your C-41 film to offer a different look with lower contrast and better post-process control to grade the colours to the look you want. You can also go crazy and process your E-6 films in ECN-2 chemistry to achieve a key look to the TV series Euphoria’s second season. Of course, it does result in your colour reversal film becoming colour negative.


Lowdown
The first thing you need to realise is that these home kits are not the true ECN-2 process, it strips things down to a simple three-chemical kit that allows the average home user to process motion picture film at home and get close to lab results. I say close to, as the ECN-2 process is more than chemistry; it involves a proper remjet removal bath, acid stop and washes. All are calibrated to specific temperatures and times that only automated processes can achieve. And while labs do exist that allow for processing Vision3 and other motion picture films using the ECN-2 process as laid out in the documentation. They don’t always accept the average person sending their film; of course, you can work through Dunwoody Photo in Atlanta, Georgia, which deals with the amazing Kodak Lab in the city to handle this process. So having something you can do at home is useful in this market where there is a tonne of folk with the skills and knowledge to home process and want a true representation of what motion picture film can produce. You can pick up the FPP ECN-2 kit directly through the FPP store for an affordable and attractive price. Alternatively, CineStill and Flic Film both have kits available for purchase.


Recommended Reading
Don’t just take my word on FPP’s ECN-2 Kit; check out these other blogs on the subject!
Film Photography Project – FPP’s New Super Color Negative Development Kit
1 Comment